
As a technical drawing instructor, I begin every crochet planning session by treating the grid as a compass for precision. A dependable paper setup makes space, proportions, and stitch counts tangible. Embracing crochet graph paper early saves rework later and clarifies every goal. In workshops I call this planning habit, which keeps projects on track. For students.
Graphic planning starts with the grid. Whether you’re charting an edge repeat or a complex motif, a coordinate grid helps you track stitches and rows without guessing. I emphasize consistent grid spacing, clear margins, and a stable print size so that a pattern can be tested on paper before you hook yarns. This approach keeps tension consistent across sections and speeds review and edits.
Myth vs reality: designer's view
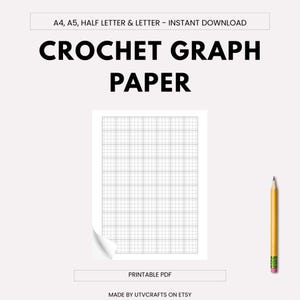
Myth: you must buy fancy graph paper to plan well. Reality: any printable grid that matches your stitch scale works in practice, and it often travels more efficiently than a specialty pad. Start with a standard square grid, set generous margins, and adjust the line weight so that notes remain legible. A clean page with light, non-bleeding lines helps you see where increases or decreases occur, reducing miscounts later and making revisions easier before you pick up the hook. Keep notes on decisions for easier revisions.
Grid spacing matters. Smaller grids give tighter detail, useful for lace or tiny motifs; larger grids speed planning for blankets or cushions. When choosing, consider the yarn gauge and hook size you intend to use. I often start with 5 mm square grids for bulky projects and 2.5 mm for fine work, then print a test page to compare scales. For color work, a lightly shaded background can help separate rows in your notes without obscuring the pattern.
Designer workflow for planning
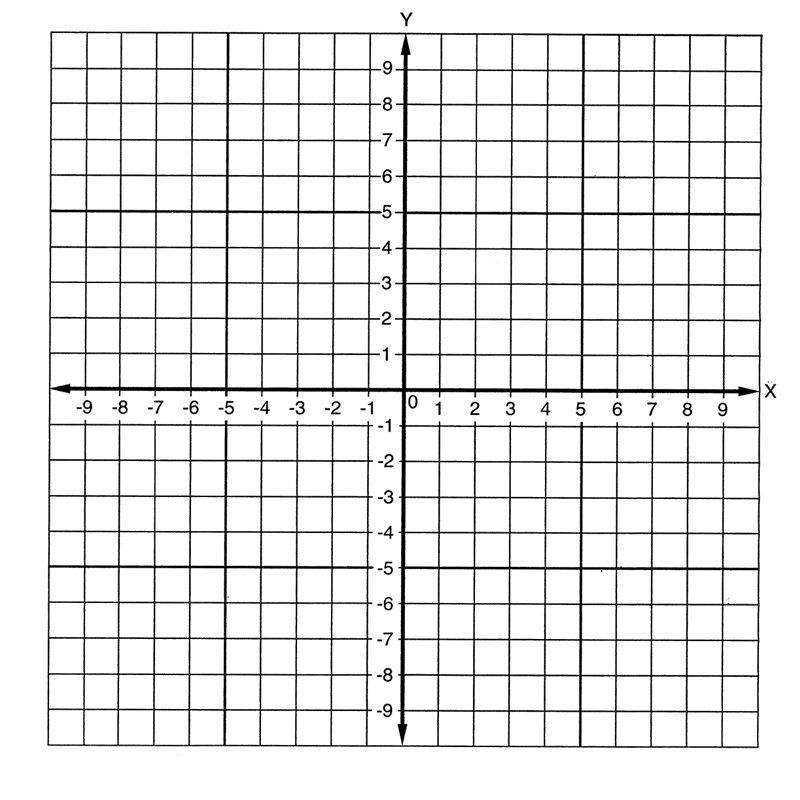
Orientation and paper size influence how you translate a pattern to fabric. Portrait mode suits tall motifs; landscape fits wide repeats. For most home printers, A4 or Letter size works, but measure margins and print borders to avoid clipping. I align the grid so the origin sits in a practical corner, then sketch anchor points for repeats, corners, and symmetry. A quick mock-up on scrap paper can save costly misprints and help you spot spacing issues before stitching begins.
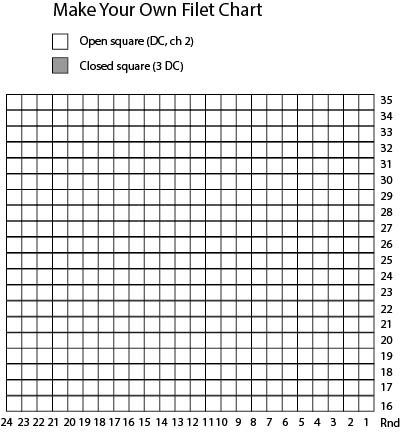
Printing scale is not cosmetic—it anchors accuracy. Use the browser print preview or your PDF viewer to set a 1:1 scale, then compare a printed square with a ruler. If the square measures exactly one inch or one centimeter, your grid is faithful. Adjust if necessary, then lock in margins and orientation so later drawings align with real stitches. Document changes in your notes and re-check a control square before proceeding with the chart. This habit saves time on patterns.
Accuracy checks and verification
Verification comes in small tests. After printing, sketch a quick swatch on grid paper to count stitches per row and verify repeat width. If a design spans multiple repeats, mark the origin and check that edge stitches align when you reach the end. This discipline prevents misalignment when you translate the chart to fabric or yarn. Keep a checklist of stitch counts, symbols, and repeat lengths so future designs can be verified at a glance, with notes filed for reference.
Material considerations: yarns and tools
Different yarns change how many stitches fit in a square. If you switch from DK to bulky, you’ll want a coarser grid or increase scale to keep the chart readable. Keep margins generous for notes about tension, gauge, and hook advice. A clear legend, simple symbols, and a consistent reference point help you stay organized as projects grow. When testing a new yarn, document the gauge in the grid square and adjust the planned repeat accordingly. For future maintenance.
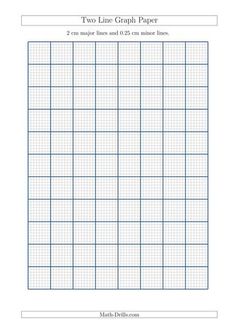
In practice, crochet planning with the grid is less about perfection and more about repeatable structure. Start with a chosen grid size, confirm the paper orientation, and print a test page. Use margins and a simple legend to keep your notes legible. When you approach a pattern as a designer, the grid becomes a map that guides your choices from concept to finished piece. With disciplined use, your sketches translate smoothly into stitches and save you time during knitting sessions.