
As a graphic designer, I rely on precise grids to translate ideas into clean layouts. Using note taking graph paper, I map margins, scale, and rhythm before a single line is printed. When planned early, the final piece feels deliberate rather than hurried.
Grid paper makes it easier to sketch relationships between type, imagery, and whitespace. I start by selecting a grid pattern that matches the project's needs: smaller squares for fine detail and larger squares for bold, decisive layouts. A consistent reference for margins, alignment, and proportion also helps when coordinating with clients or printers.
Grid basics
Printing accuracy starts with choosing the right paper and grid style. Square grids translate well to both vector and raster workflows, but measure and maintain the scale you intend to print. Margins matter because they frame your composition; leaving adequate white space around the edges keeps notes legible and prevents content from being trimmed. Grid spacing, often measured in millimeters or inches, should align with your design units.
Grid size choices
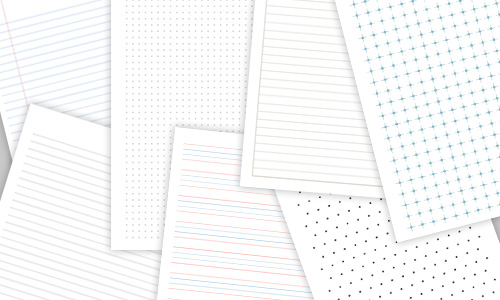
Choose grid size by considering your final medium and the level of precision you need. For quick brainstorming, 5 mm or 1/4 inch squares offer clear structure without overwhelming space. For detailed diagrams or typography studies, smaller 2 mm or 3 mm grids provide finer anchors. If you plan to scan notes later, avoid too tight a grid that will look jagged when digitized.
FAQ
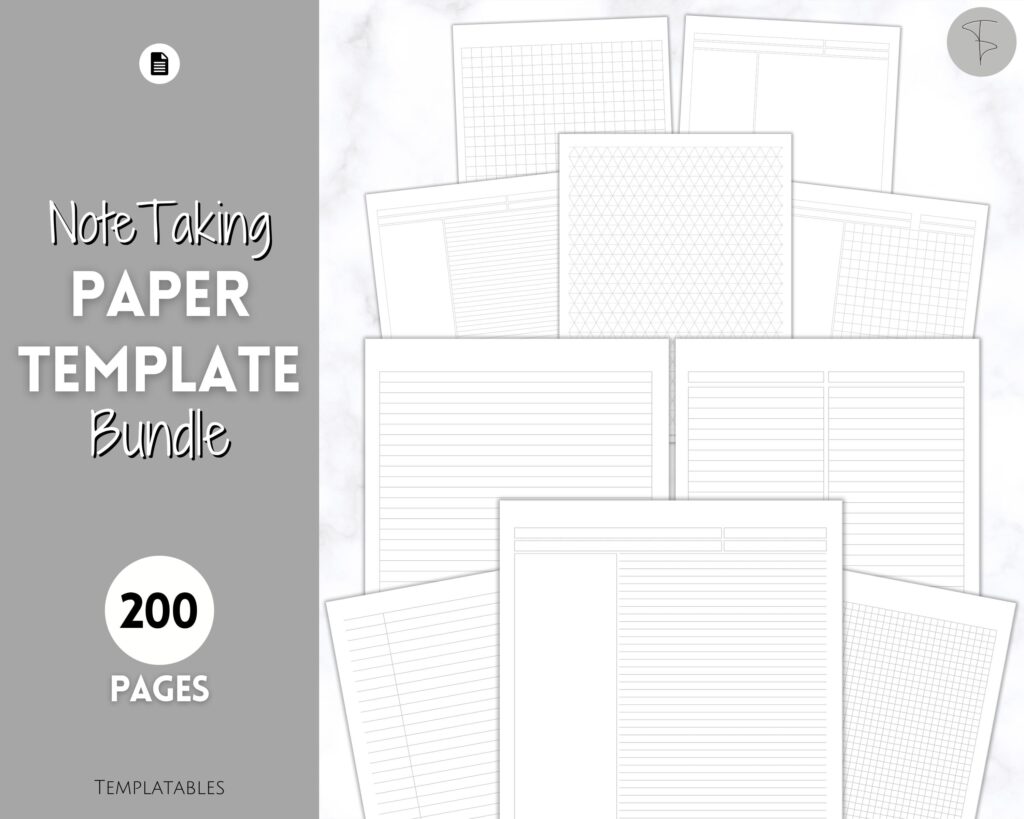
Q: What grid size is best for beginners? A: Start with 5 mm squares on standard letter-size paper to balance readability and detail. Q: How do I print to scale? A: Set the printer or browser to actual size and avoid fit-to-page. Q: How can I verify measurements? A: Print a test page and measure the grid with a ruler. Q: Which orientation should I use? A: Choose portrait for tall notes or landscape for wide layouts depending on your project.
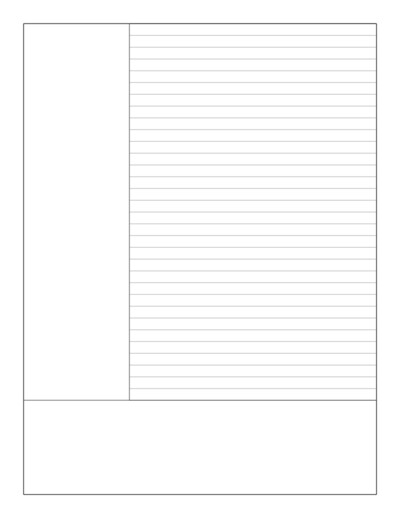
Turn your grids into a workflow: sketch rough ideas on the grid, lock margins, and then redraw in your preferred software or by hand with accurate measurements. Use multiple layers of notes: a column for measurements, another for labels, and a third for references. When you finalize sketches, photograph or scan them to compare against the printed grid.
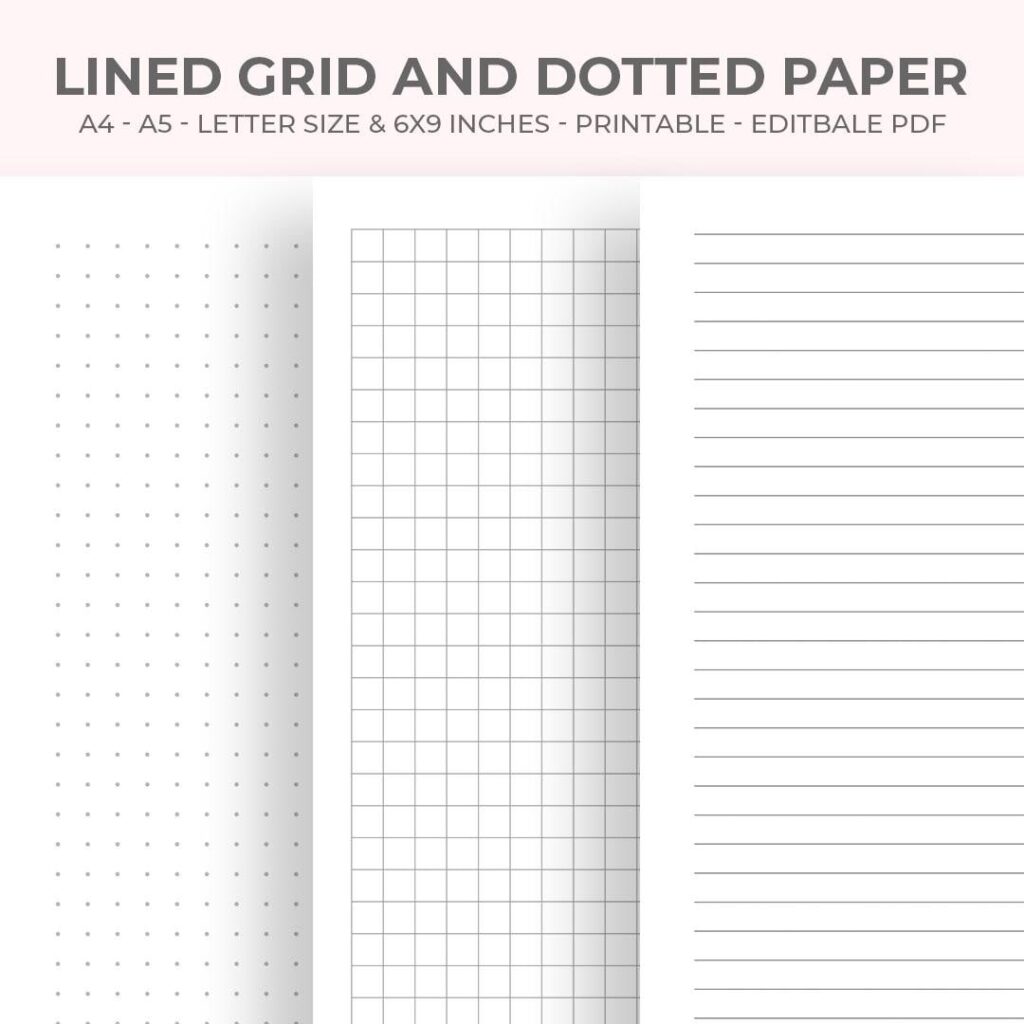
By choosing the right grid, setting up your paper and print options, and validating with quick checks, you can make note taking graph paper a reliable part of your design process. Start simple, test your scale, and keep margins generous enough to protect your layout during handling. With consistent grids, your ideas translate clearly from concept to print.