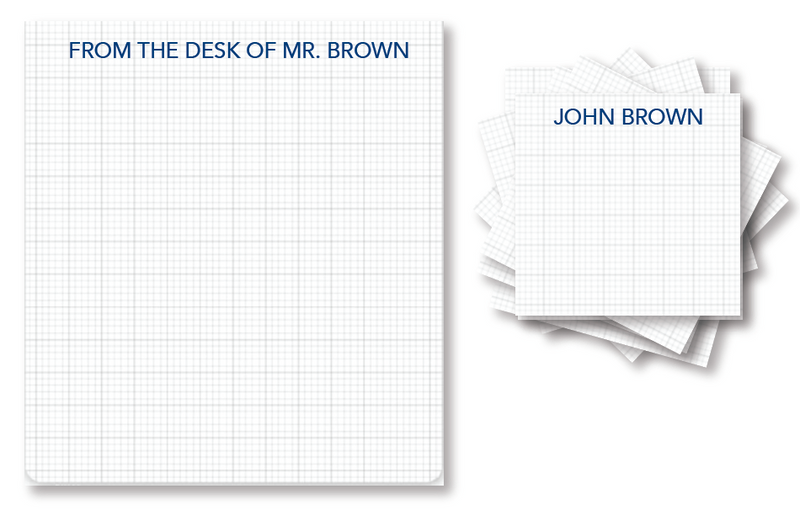
In my studio, I rely on graph paper notes to plan murals, map perspective, and keep compositions balanced. When students sketch thumbnails or plan grid-based studies, the grid helps translate ideas into accurate measurements. This habit makes color and form decisions clearer before a single brushstroke lands.
If you’re new to grid-based notes, start by understanding what grid paper does: it provides a reference for scale and proportion. The lines act as gentle guides, not rigid rules. With grid paper, you can label sections, compare values, and transfer a small sketch to a larger canvas. Over time, a square grid becomes a versatile tool for planning composition, balance, and rhythm.
Grid size basics
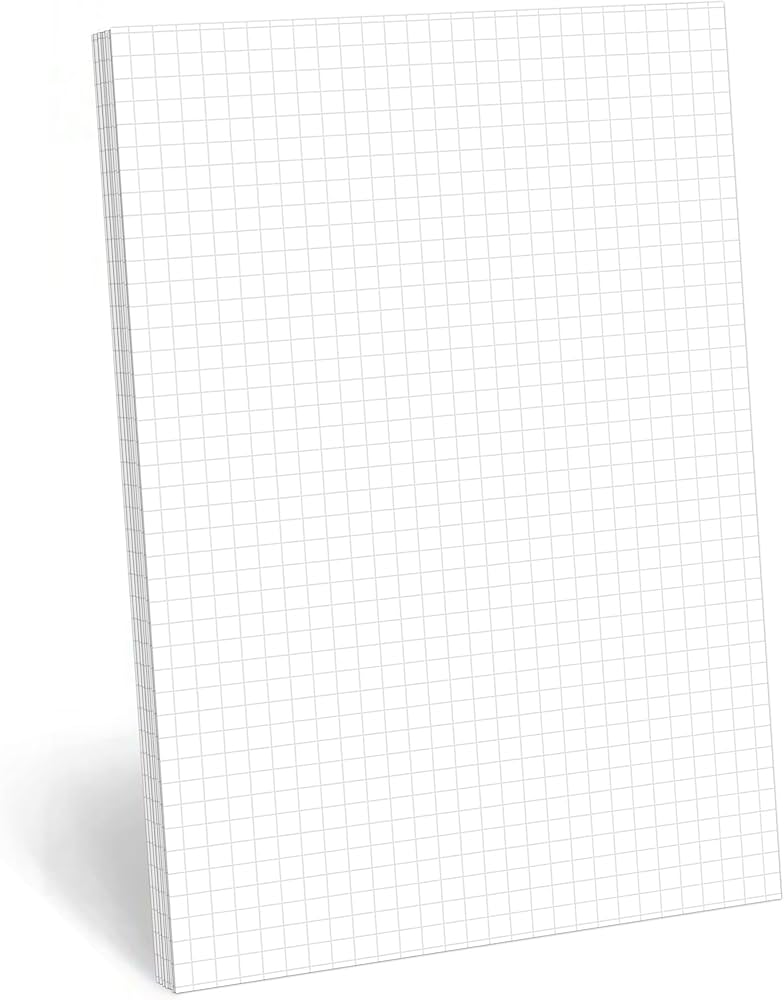
Grid size matters: smaller squares give precision for detailed drawing; larger squares speed layout but reduce fine control. A 1/4 inch grid (about 6 mm) fits most figure studies and architectural sketches, while 1/8 inch grids are handy for tiny studies and precise measurements. Consider how much you want to see tiny details versus the overall composition; you can always crop or overlay a secondary grid later.
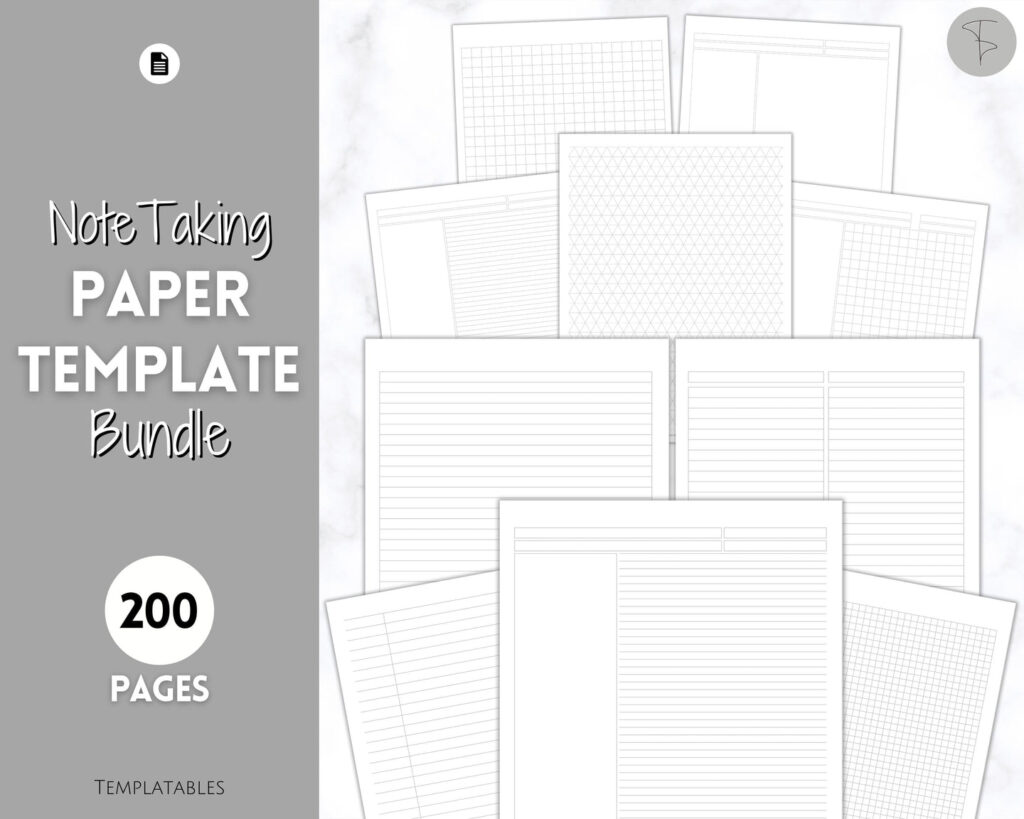
Paper size and orientation affect how a plan translates to a real surface. For larger studies, landscape orientation on bigger sheets helps; portrait suits tall figures. Margins matter: small margins can shift alignment when printing. Before you print, set the scale to 100% and verify the grid with a ruler, adjusting margins so the edges line up with the paper.
Practical workflow
Try a simple, repeatable workflow: start with a blank grid, decide the scale for the piece, sketch a rough figure in light pencil on the grid, block major shapes with rectangles on the lines, then move to shading values using the grid as reference for proportion. For a classroom demo, compare direct drawing on grid versus projecting from a small sketch.
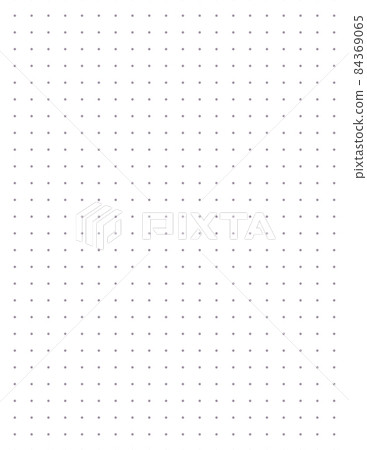
Printing and measurement tips, plus quick FAQ: Q1: How to choose grid size? A: Start with 1/4 inch squares. Q2: Paper size? A: Use A3 or tabloid for bigger plans. Q3: Print accuracy? A: Set scale to 100% and verify margins with a ruler. Q4: Keep notes readable? A: Label sections and maintain clear margins.
With these practical steps, grid-based note-taking becomes a confident part of your art process. A careful choice of grid size, paper size, and printing scale helps you plan accurately, while a simple workflow keeps ideas moving from sketch to study to final piece. Remember to check measurements in the real world and keep your margins neat for clean, repeatable results.