
As an art teacher, I often begin the class with a simple, reliable tool: grid paper that guides line, proportion, and rhythm. The humble squares slow down a sketch, inviting careful observation and deliberate placements. Students learn to see light, space, and shape before shading, turning a rough idea into a confident drawing.
Using graph paper drawings in the early stages helps all learners build accuracy without losing spontaneity. The grid acts as a visual scaffold, not a constraint, letting students map edges, measure angles, and test composition before committing to ink or paint. When the lines guide the hand, mistakes become data to revise rather than failures.
Grid paper basics
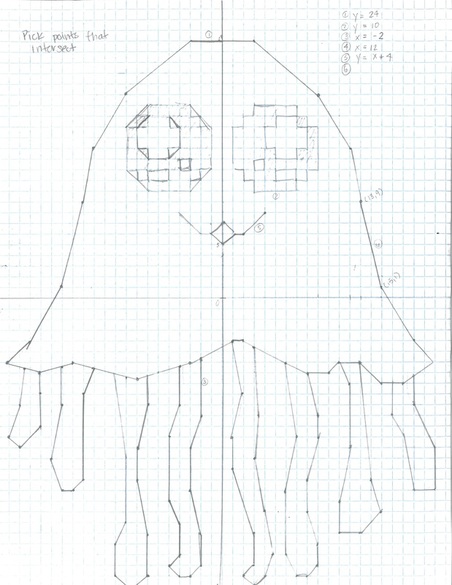
Begin with a square grid that matches the scale of your subject. Common options include 1/4 inch squares for still life and 1/2 inch for larger landscapes. Coordinate grids challenge students to plot points by row and column, building comfort with x and y axes. It's okay to start with a single object and expand complexity as confidence grows. If you measure diagonals or apply the rule of thirds on the grid, you can test balance before committing to lines.
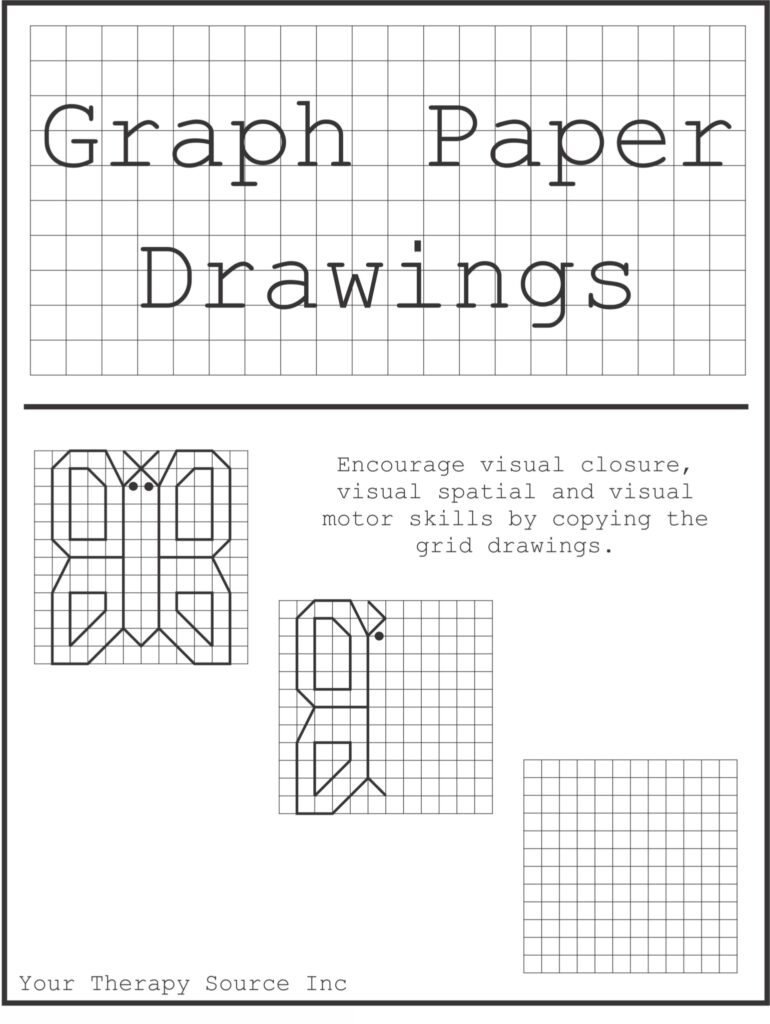
Consider paper size and orientation when you plan a project. Letter and A4 are the most accessible, but you may prefer a larger printable grid for expansive drawings. Leave generous margins to keep your composition intact and to allow room for notes about perspective. If you are working with a teacher-provided printable grid, check that the grid spacing matches the tool you intend to use.
Practical setup
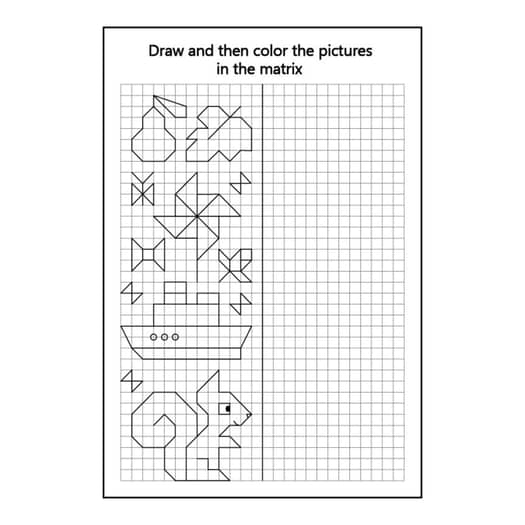
For a beginner exercise, map a teacup and a lemon using a light pencil on grid paper. Start by marking the cup's rim on a couple of horizontal grid lines, then transfer the curvature with gentle arcs across adjacent columns. Compare proportions by measuring the lemon's width to the cup's height on the grid. This approach trains eye-hand accuracy and reduces guesswork. Clean up lines as you go.
Whether you are rendering by hand or digitizing, test printing at 100% scale to preserve the grid integrity. In a browser or image editor, ensure the grid remains square by checking that the printed square looks square with a ruler. If the print appears stretched, adjust the page size, orientation, or margins before committing to a larger drawing.
Printing and accuracy
FAQ: How do I choose grid size? Start with 1/4 inch squares for small subjects and move up to 1/2 inch as you plan larger scenes. What paper size should I use? Letter or A4 is standard; for bigger work, use larger sheets or tape two pages together. Should I print the grid or draw by hand? Printing helps accuracy, but drafting first keeps options open. How can I check accuracy? Regularly measure key proportions against the grid.
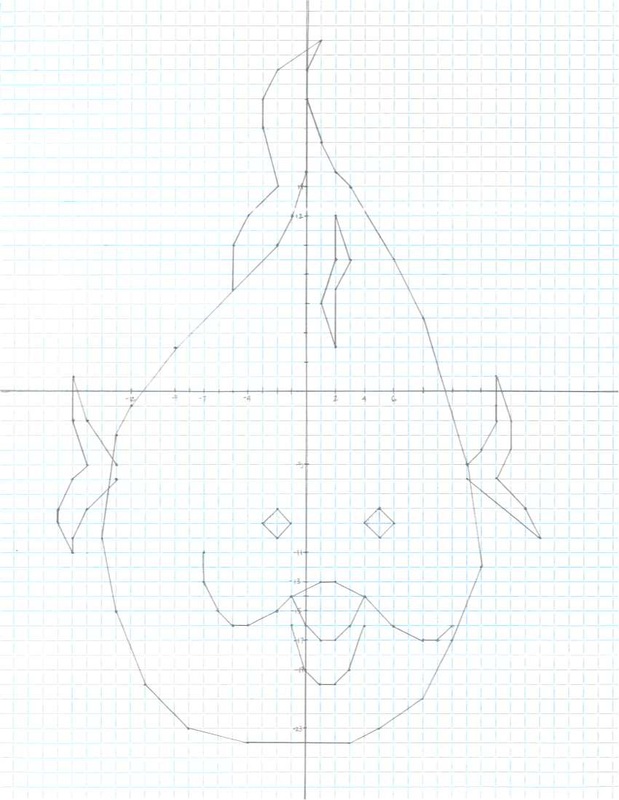
By layering grid logic with careful observation, students gain confidence and control over their drawings. Remember to test scale, respect margins, and choose a grid that matches your subject. The goal is steady progress: a clearer line, truer proportions, and a mindset that sees structure as a tool, not a cage. With practice, grid paper becomes a dependable partner in artmaking.