
As an art teacher, I encourage students to start with grid paper to build confidence and precision. With a pencil, a ruler, and practice, you can map shapes before committing to ink or color. This approach makes easy graph paper drawings approachable for beginners and helps ideas stay on track.
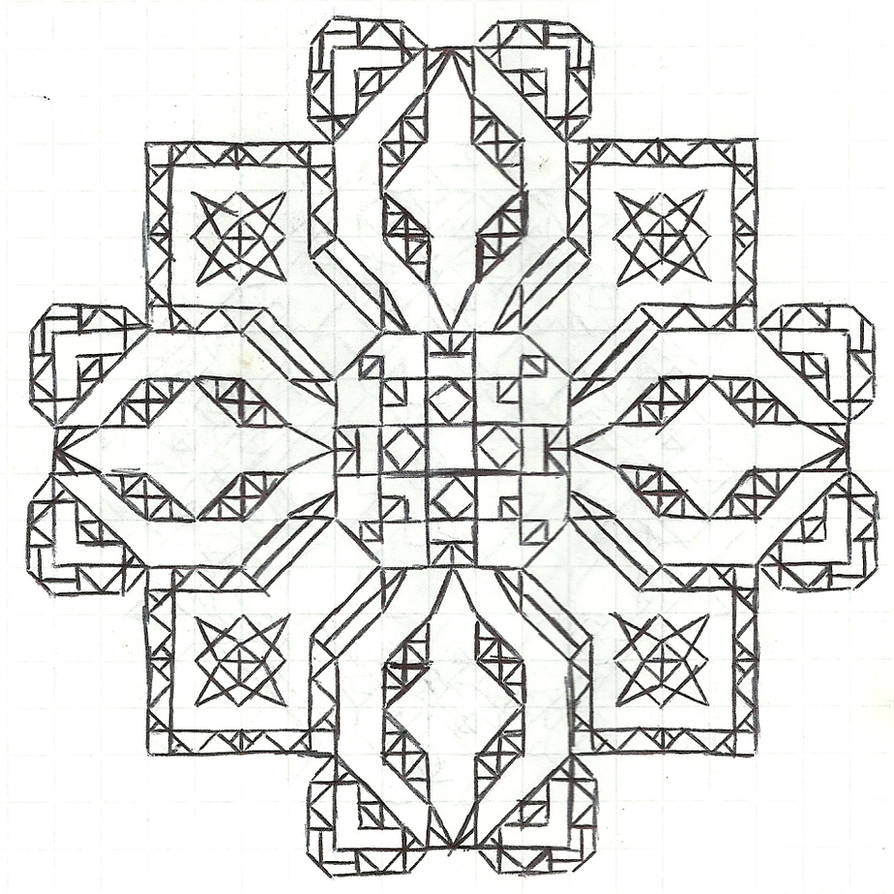
Grid paper gives a quiet framework for thinking about proportion and spacing. By counting squares, you can plan the size of each element before you draw the final lines. This helps reduce mistakes and build consistency across shapes. It also trains your eye to compare distances and align edges, which is especially helpful when you later switch to freehand drawing or adding ink.
Grid basics for beginners
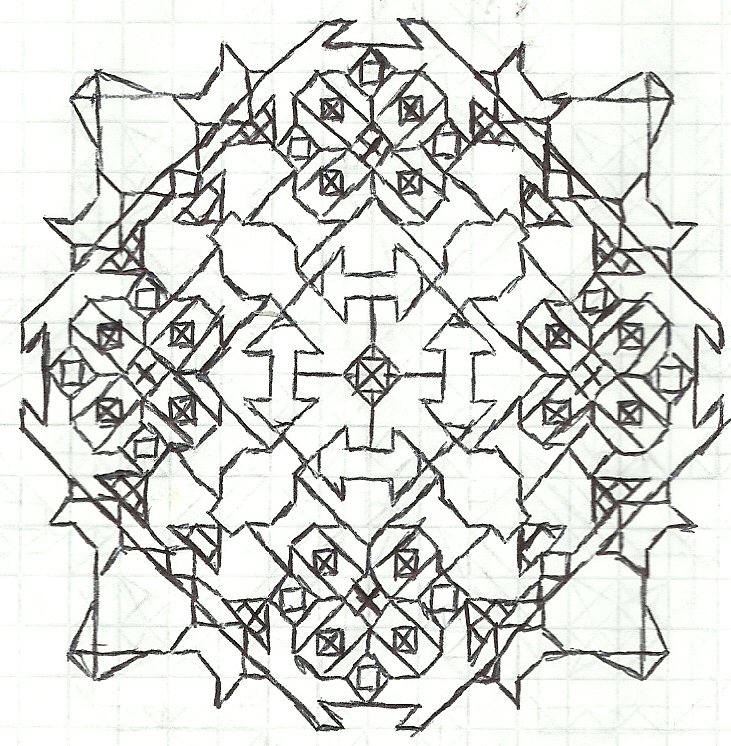
Start with the grid spacing that fits your project. Common options are 5 millimeters or 1/4 inch squares on grid paper, which balance detail and speed. Decide orientation—portrait for portraits and tall subjects, landscape for scenes and wide shapes. Leave a small margin so you can erase mistakes and preserve a clean edge when you remove guidelines.
Practice with a simple sequence: draw a square, then a circle inside it using the grid's centers, and finally add diagonals to create triangles. Repeat with variations: scale up, scale down, or mirror on the axis. These micro-assignments build familiarity with the grid without requiring perfect artistry.
Beginner drawing exercises
Example 1: a small house. Start with a rectangle across several squares, then add a triangle roof aligned to the grid lines. Use the margins to keep your house centered. Integer multiples of grid spacing help keep doors and windows proportional. Practice shading by crisscrossing hatch marks in the roof and walls, keeping lines light.
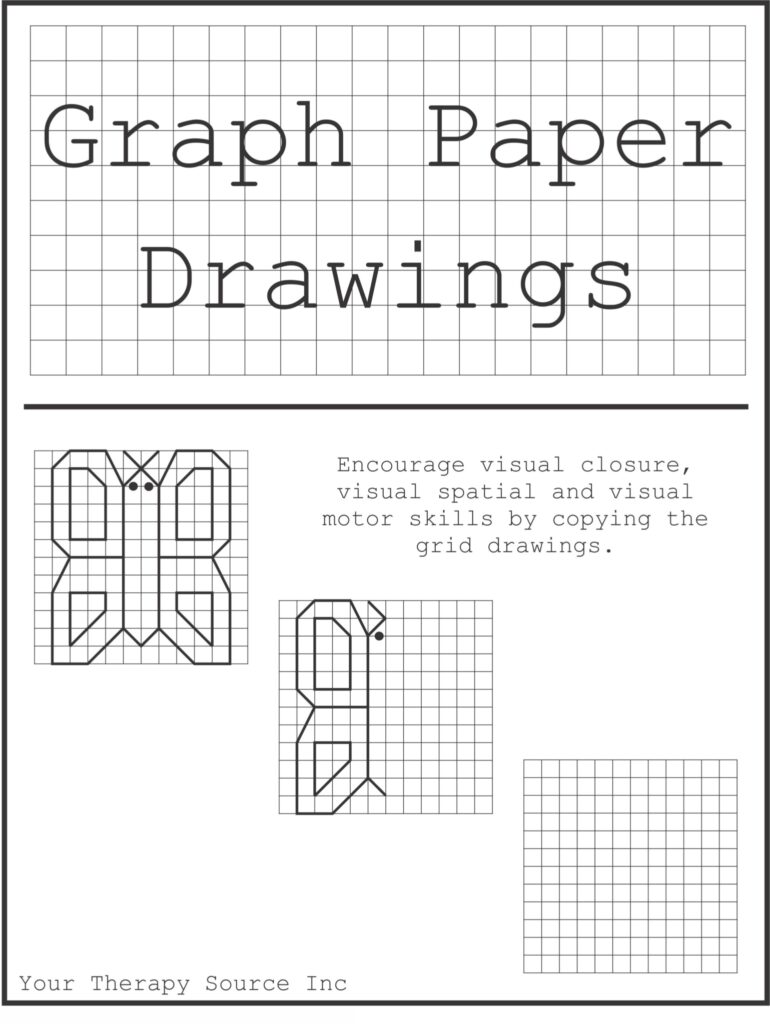
Example 2: a tree silhouette using a combination of squares and triangles. Outline the trunk with a vertical column of squares, then widen the canopy in a stepped curve that follows grid lines. Use soft shading by layering light hatch marks. This pushes you to adjust curves using straight segments, a common grid-drawing technique.
Printing and sizing
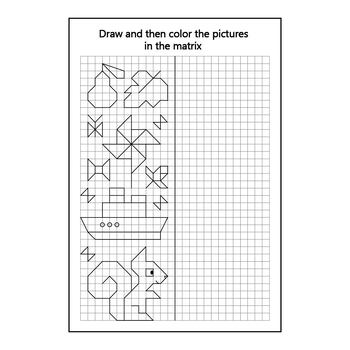
Printing and sizing tips help ensure your plan transfers cleanly. Use printable grids and confirm grid spacing matches your intended scale. Set margins and orientation in your printer settings, then print a test page and measure with a ruler. FAQ: Do I need special grid paper? Not necessary. What grid size to start with? 5 mm or 1/4 inch squares. Can I shade? Yes, with light hatch. Which orientation works best? Portrait for tall subjects, landscape for wide scenes.
In short, grid-based drawings anchor your ideas and reduce guesswork. Start with a comfortable square size, choose the paper orientation that fits your subject, and verify your print at true scale with a ruler. Practice small, repeat steps, and gradually introduce shading. With steady habit and clear measurements, you’ll see your precision grow across projects.