
As a technical drawing instructor, I begin with fundamentals you can trust: clear intent, measured lines, and consistent margins. Your work gains credibility when you treat grid paper as a guiding framework, not decoration, because discipline in setup pays off in every project.
On day one, focus on a clean setup: defined margins, a clear scale, and lines laid with a light touch. This approach keeps proportions honest and makes revisions easier. In practice, you can draw on a graph paper with confidence, knowing each step aligns to a repeatable grid rather than guesswork.
Myth vs Reality
Myth: grids trap creativity and force every idea into a box. Reality: grid paper acts as a transparency layer that reveals relationships between length, width, and angle. When you sketch with consistent grid spacing, you can test ideas quickly, catch measurement drift early, and keep your design readable to others. The grid clarifies constraints, letting you focus on form and function.
Choosing the Right Grid
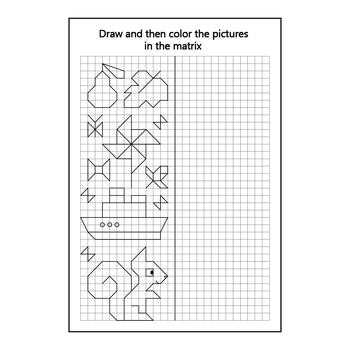
When planning, pick a grid that matches the project scale and paper size. A 1/4-inch square grid is practical for architectural layouts, while a finer 1/16-inch grid supports detailed mechanical parts. Coordinate grids can help track X/Y positions in complex drawings. Consider margins and printable grids if you plan to share or print prototypes. Always note grid spacing, orientation, and how scale will translate to paper size.
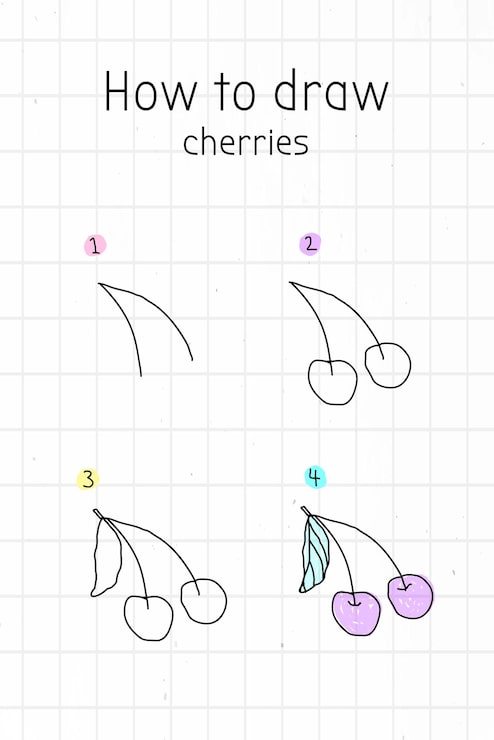
Once you settle on grid spacing and margins, apply a few practical checks to verify accuracy. Start by measuring key dimensions on the grid with a ruler, then test diagonals using a quick Pythagorean check, and finally compare coordinates from a known reference point to ensure consistency across views. Double-check against scaled templates when available.
Practical accuracy checks
Practical checks also extend to output. When you prepare to print, set the scale exactly in the browser or printer settings and choose the correct paper size to avoid distortion. Use a printed test grid to confirm that measured distances on paper match the designed values, and recheck margins at final viewports. This habit reduces surprises when you move from screen to physical drawing.
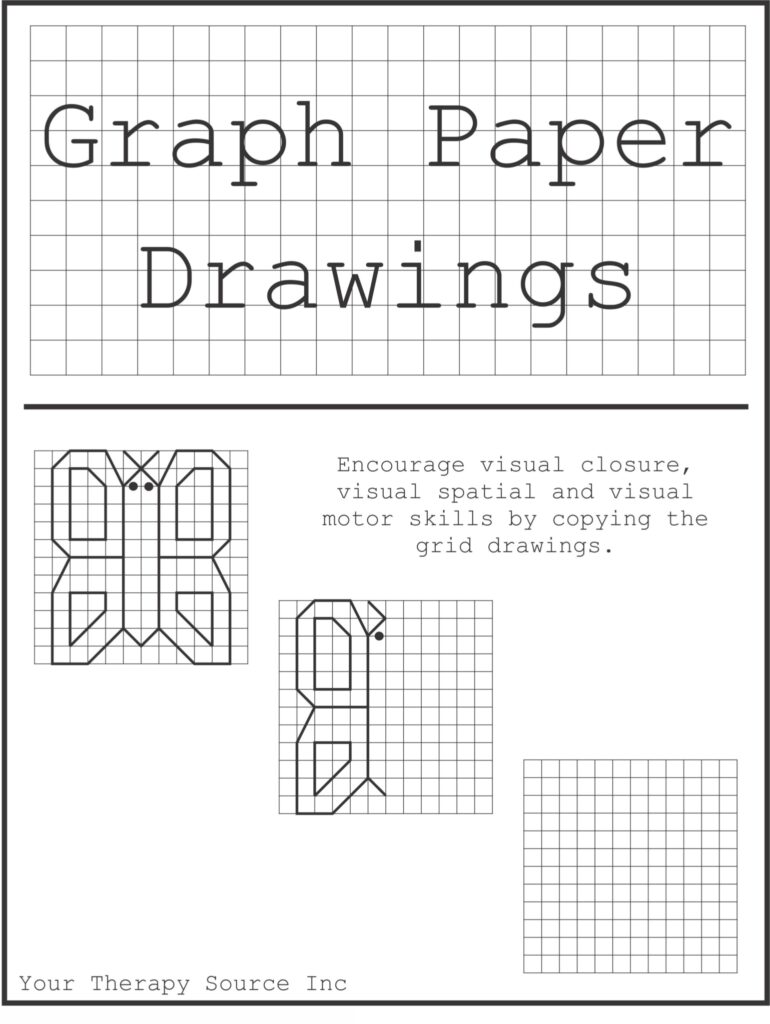
Q: How do I choose grid size? A: Base it on the project scale and typical drawing length. Q: Should I print on grid paper or plain paper? A: Grid paper helps stay aligned; plain paper requires extra guidelines. Q: Does orientation matter? A: Yes, pick portrait or landscape to suit your layout. Q: How do I verify measurements? A: Use a ruler, check scale, and print a test page.
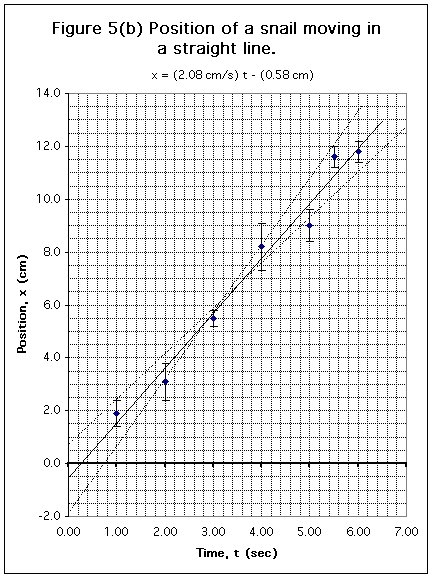
With a planned approach, grid paper becomes a reliable partner in technical drawing. Remember to document grid spacing, margins, and scale with each project. Practice adjusting orientation for different tasks, and test prints to avoid surprises later. By treating myths about grids as helpful guardrails rather than obstacles, you build skills that transfer across design disciplines.