
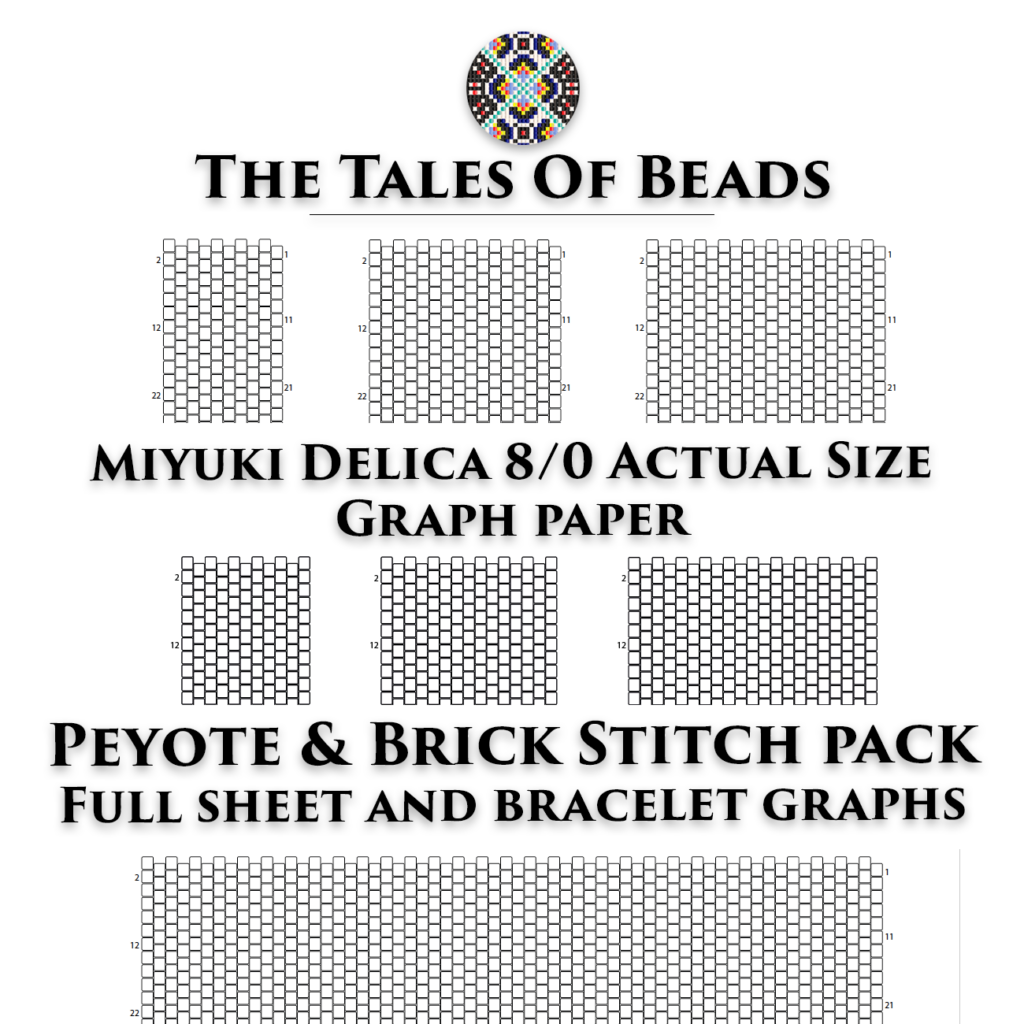
As an architecture mentor, I guide students to translate ideas into precise grids. Beadwork, like building design, benefits from careful planning and consistent measurements. peyote stitch graph paper helps map stitches as if drafting a façade, aligning symmetry and spacing before a single bead is placed.
Building on that idea, this guide offers practical steps you can apply right away. You will learn how to choose the right grid, plan a layout that respects symmetry, and anticipate how a peyote stitch pattern will look when translated from a flat diagram to a three-dimensional bead surface. Expect clear examples, real-world tweaks, and simple checks you can perform before threading begins to avoid wasted materials in your studio, sketchbook, or on printable grids.
Grid language basics
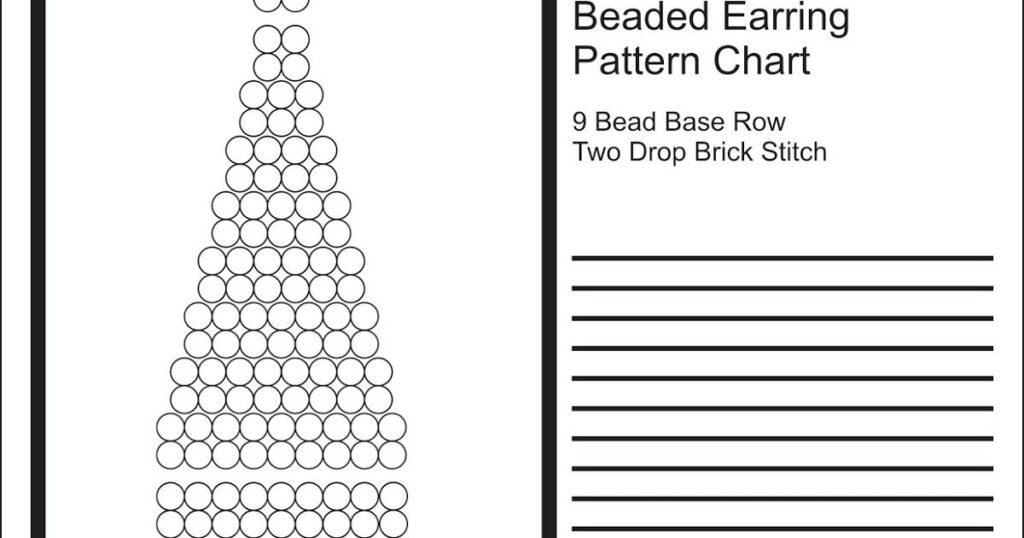
Graph paper, grid paper, and coordinate grids all describe the same idea: a square lattice that helps you count beads the way an architect counts feet. Choose a grid spacing that matches the bead count per stitch, and decide how margins frame your design. For beginners, a standard 1:1 grid, where each square equals one bead, is a reliable starting point. From there, you can explore alternate scales as patterns grow.
Try a small motif, like a four-bead cross, on a 5×5 square area. Count each bead as one square, and label coordinates so you can reproduce the pattern later. This practice mirrors architectural plotting, where you translate a concept into a coordinate grid and confirm symmetry before any stitching begins. As you gain confidence, test a larger motif, and compare against your original sketch to maintain consistency.
Common mistakes and fixes
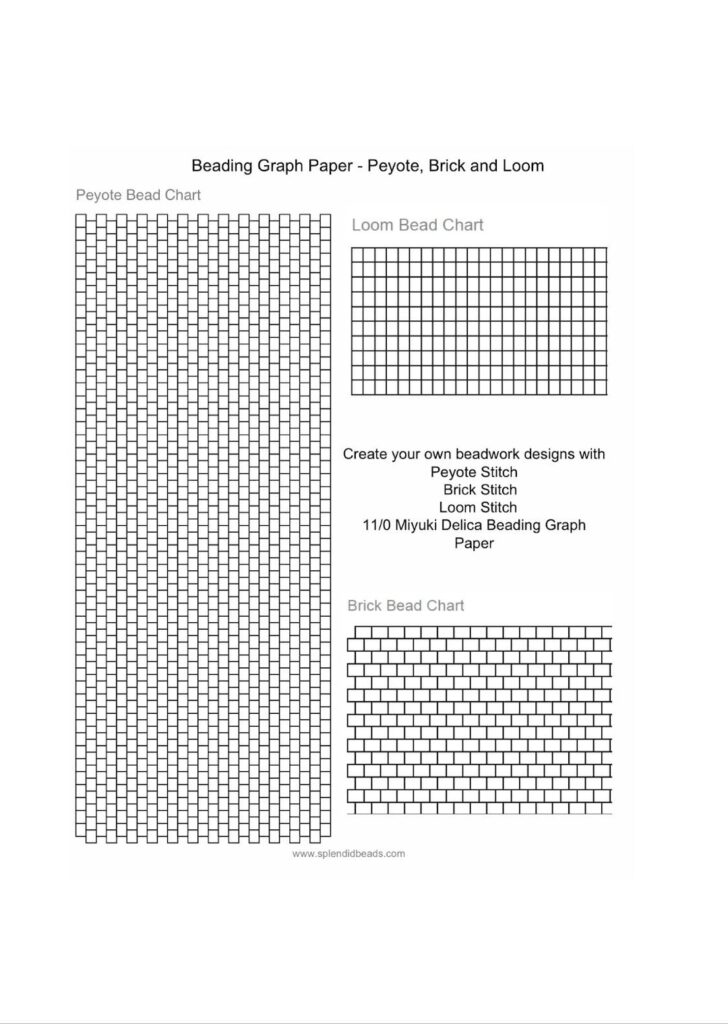
One common mistake is using a grid spacing that does not match the beads you plan to use, which throws off alignment fast. Fix by choosing a grid where one square equals one bead or a predictable multiple. Always check margins and orientation before you start; a rotated pattern or cut-off edges can ruin symmetry. Keep a simple checklist and test a tiny section before full work.
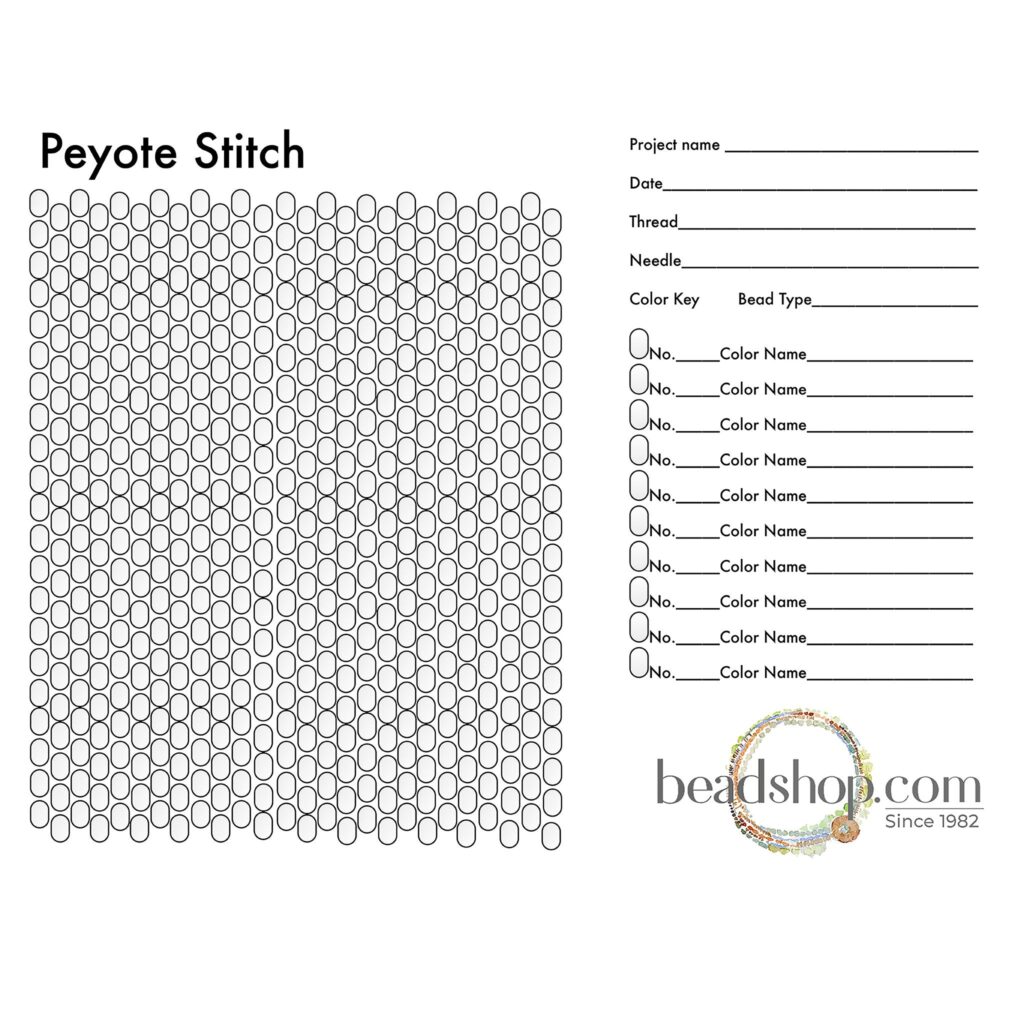
Another mistake is treating the pattern like a printout rather than a three-dimensional guide. If you rotate the grid, you must redraw counts or adjust the start corner. Also, remember bead size matters; a thicker bead will cover more grid space, slightly changing scale. Test a tiny swatch to confirm fit. Keep a small notebook of measurements to preserve consistency across sessions.
Printing and sizing tips
Print a test page on the same paper you plan to use, then measure a one-square box with a ruler to confirm 1:1 accuracy. Use landscape or portrait orientation to fit your grid on your chosen paper size. Adjust margins and scale in the browser or printer settings until the test square matches exactly. If you work across devices, recheck consistency by reprinting a sample area.
Planning your grid and scale
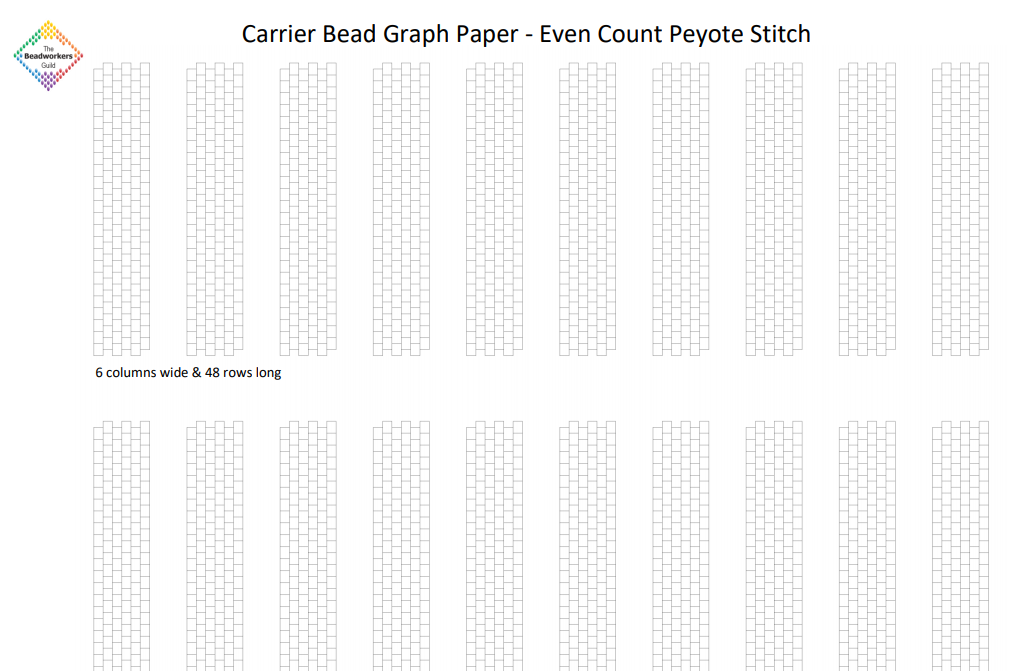
Plan your grid and scale before you print. Choose a paper size that fits your work area and decide between 1:1 or a small multiple. Keep a brief note of grid spacing and orientation so patterns stay reproducible. FAQ: Q1: grid paper use? A1: It helps count stitches and plan symmetry. Q2: Print scale? A2: Test with a ruler. Q3: Beads per square? A3: Square equals one bead or a fixed multiple. Q4: Avoid misalignment? A4: Count twice, measure, swatch.
Conclusion: A methodical approach to grid planning unlocks precision and creativity in peyote stitch work. Treat your grid as a blueprint, verify scale and margins, and test with a swatch before committing to a full piece. With patience and consistent practices, designs translate from idea to wearable form with reliability.