
As an art teacher, I reach for graph paper with quadrants to anchor projects in clear proportion. The grid helps students plan composition and measure relationships before painting or drawing. It makes ideas tangible from the first sketch.
Using grid paper regularly lets students see how size, margins, and scale affect a drawing, from initial gesture to final accuracy. I often compare square grids with coordinate grids, explaining how each system guides different tasks—precision when measuring distances, rhythm when laying out curves, and freedom when composing light and shadow. The result is a more deliberate process, fewer mistakes, and a clearer path from idea to finished work once the ink finally hits paper.
Grid size options
First, consider grid spacing. A 1/4 inch (about 6 mm) grid is friendly for beginners, since larger squares are forgiving and help establish overall proportion. A 5 mm or 6 mm grid supports fine detail without crowding, and it can pace lessons that move from rough sketches to measured studies. If you work with letter-size paper, think about how many squares fit across the page, then plan margins accordingly, leaving room for notes and shading tests. Practicing with multiple pages helps students feel the difference between bold strokes and careful lines.
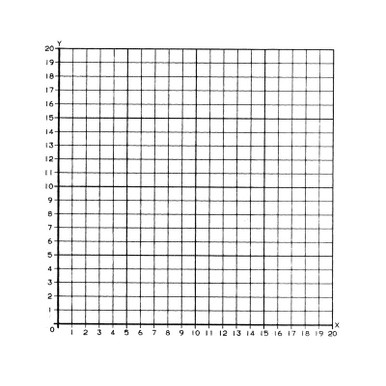
Paper size and orientation matter. US Letter and A4 are common, but if you plan large layouts, consider tabloid or ledger formats. Portrait orientation matches tall subjects, while landscape works for scenes with wide horizons. When you print, check your printer’s settings to preserve scale, and remember that margins influence what you can draw on the page. Always test on scrap paper before you commit to a final copy.
Paper and printing tips
Practical exercises use the grid to map ideas and build confidence. For a still life, begin by drawing rough shapes on the grid, counting squares to transfer proportions and check placement relative to margins. Then shift to value studies, shading lightly while keeping the grid visible as a guide, so you can compare tonal balance across areas. For longer drawings, overlay the grid and test scale with simple shapes first, adjusting as needed when lines cross margins or when you re-compose a scene.
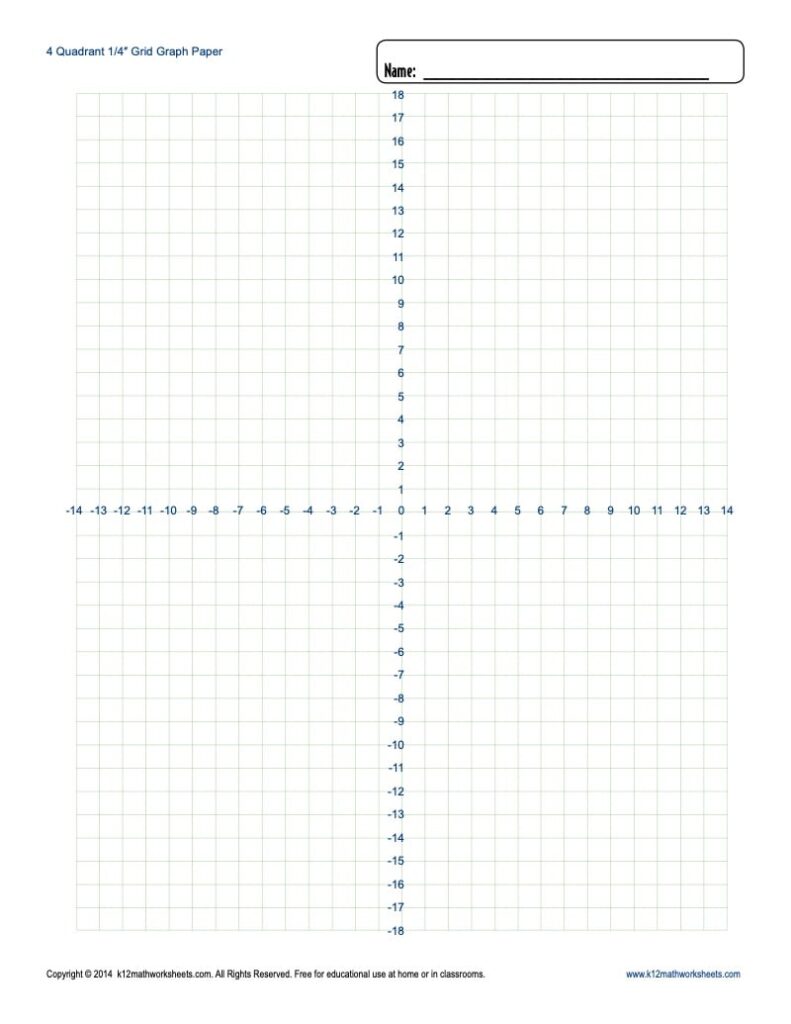
Printing scale is a common pitfall. Before you print, run a quick measurement check: pick a known length on the grid and verify it prints true. In a browser or on a printer, print preview can help you adjust margins and orientation, while keeping the grid intact. If you notice distortion, check that you are not shrinking or stretching the page, and consider printing on a larger sheet or using a border to preserve square integrity.
FAQ
Q: Do I print at 100 percent scale? A: Yes, set the scale to 100% to keep the grid squares true, because even a small misalignment can throw off proportion. Q: Should I start with a specific grid spacing? A: Begin with 5 mm or 1/4 inch squares and adjust as needed for your subject, project, or age group, keeping a few test squares handy.
Q: Is grid paper with quadrants better for beginners than plain grid paper? A: For many students, yes, because lines help with proportion and rhythm, making it easier to train the eye. Q: Should I use portrait or landscape orientation? A: Start with portrait for most drawing projects, and switch to landscape when mapping layouts; print at 100% scale, check margins, and keep practice steady to build confidence and accuracy.