
As a homeschool parent, I often start a design project with a simple tool that keeps ideas in proportion. Our mornings begin with sketches of rooms, elevations, and layouts, and a sturdy graph paper notebook helps my student keep lines crisp and measurements honest.
Take a typical project: redesign a small study into a study nook with a built-in desk. We begin by outlining the outer walls on the grid to keep length and width consistent, then add door swings, window openings, and furniture blocks. The grid makes it easy to compare options quickly, so we can adjust proportions without redrawing from scratch.
Room-by-room plan
For room layouts, start with a 1/4-inch grid on letter-size paper and lay out walls in multiples of squares. Use landscape orientation to give a wide canvas for doors and furniture, and reserve margins for notes and dimensions. As you sketch, think in zones—living, cooking, sleeping—and keep objects proportional to human scale, a simple floor plan starts to take shape.

Printable grids and grid paper both work, but each has tradeoffs. If you print grids at home, use standard letter size and set the scale to 100 percent so the squares stay true to shape. Quick FAQ: What grid size is best? Start with 1/4 inch. Can printable grids work? Yes if printed true-to-size. Landscape or portrait? Use landscape for most floor plans.
Grid size and paper size
For most room layouts, landscape orientation works best because it gives a wide canvas for walls and furniture without crowding the page. Leave generous margins for notes, dimension marks, and title blocks. When drawing, start with a simple rectangle for the room, then subdivide into zones for doors, windows, and built-ins.
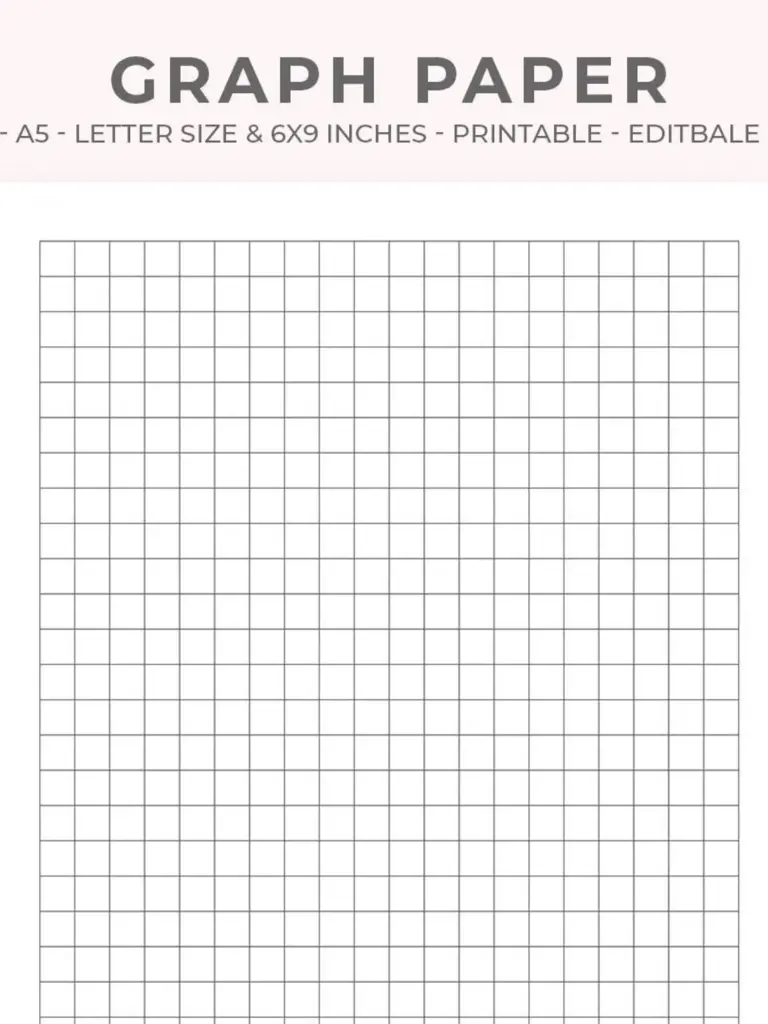
Printing scale and settings matter for accuracy. On the computer, check the browser's print preview or your printer's settings to ensure margins aren't cropped and that grid lines remain square. If you are turning drafts into final plans, print a test sheet and measure a few squares with a ruler to verify one square represents the intended unit.
Practical workflow
Take a concrete example: sketch a small apartment with two rooms and a shared entry. Draw the exterior footprint, then add interior walls, door swings, and window openings using the grid as a guide. Label dimensions along the margins and note rough heights. Use proportional drawing to keep furniture in scale, then revise before finalizing.
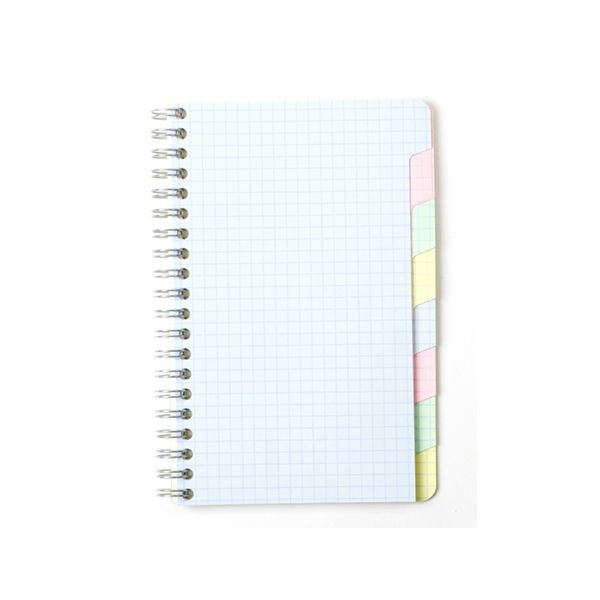
Bottom line: a simple grid approach makes architectural sketching accessible, builds spatial sense, and keeps homeschool projects on track. By choosing the right grid size, paper orientation, and printing scale, families can turn rough ideas into workable layouts. With patience and practice, these skills translate beyond drawings into real-world measurements and planning.