
As a homeschool parent, I've learned that good design starts with the right paper. When my kids sketch rooms, layouts, and furniture, a dependable grid keeps ideas clear and scalable. The process feels calmer when the medium supports the math.
With a simple tool kit, we turn rough thoughts into proportional drawings. I lean on 1/4 graph paper because it provides enough detail for precise measurements without crowding the page. It helps my student compare door swings, cabinet footprints, and wall lengths at a glance, turning imagination into testable sketches. We use it for ceiling heights too, noting where lights and beams intersect.
Grid Paper Basics
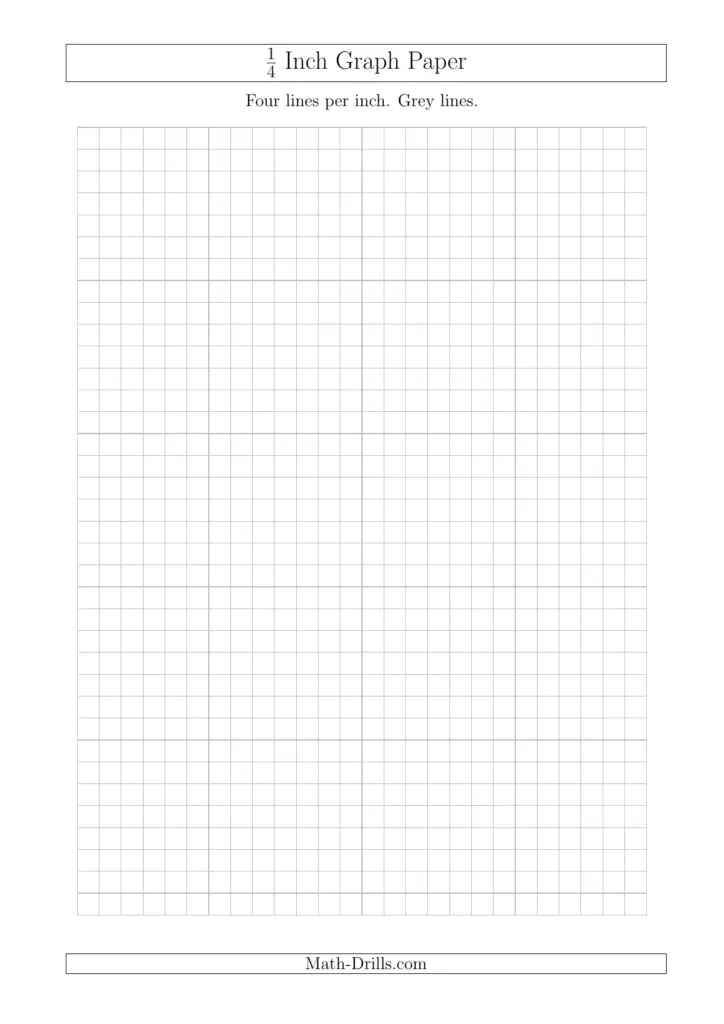
Starting with a use-case first mindset keeps us focused. For architecture sketches, a grid helps maintain scale as we draft rooms, doors, and corridors. When we move to floor plans, grid spacing guides furniture placement and circulation paths. Proportional drawings stay legible on a single sheet, even as ideas grow, because each element aligns with a predictable unit. We also use color-coded notes to distinguish walls from furniture, which reinforces learning without overwhelming the student with numbers.
On a family project, we will map a small reading nook, then expand to a full living area, so the grid grows with the plan rather than becoming a jumble.
Choosing grid size
Grid size matters, especially when your goal is readable, teachable work. A 1/4-inch square grid delivers enough detail for small rooms without crowding the page; a 1/8-inch grid offers finer control for cabinetry and built-ins. For older students, pair the paper with a simple scale like 1/4 inch equals 1 foot and note margins to avoid trimming. If you are drafting multiple scales on one sheet, you might use different line weights to separate walls from measurements.
Keep a small cheat sheet on the corner of the page listing standard room dimensions you commonly measure, so the practice becomes second nature.
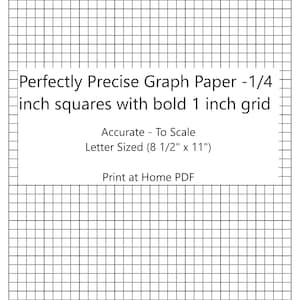
Before you print, confirm orientation and margins. Portrait mode is common for floor plans, but landscape can fit long rooms better. Check that your browser or printer is not shrinking the page; enable 100% scale or actual size, and verify with a printed test. If you print more than once, keep a simple checklist: page size, scale, and margins. When you work with a family printer, set custom margins in print setup instead of relying on your browser's defaults.
Small measurement errors multiply when you scale, so a quick ruler check and a test legend noting the scale protects the final draft from surprises.
FAQ
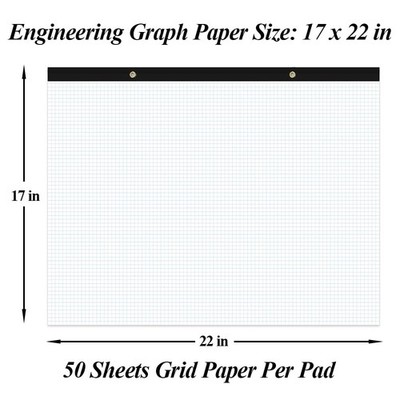
FAQ Q1: How do I choose grid size? A: Start with a 1/4-inch square grid and adjust as needed. Q2: What paper size should we use at home? A: Letter or A4 is usually easiest. Q3: How do I print to scale without surprises? A: Set printing to actual size or 100% and verify with a ruler. A quick test print of a square helps confirm accuracy.
FAQ Q4: What about orientation? A: Portrait is common for floor plans, but landscape fits long rooms. Q5: How can I check accuracy in measurements? A: Draw a small test room and measure to confirm scale. Q6: Any tips for keeping notes? A: Leave margins, write scale notes, and label each draft. Additionally, keep a master copy of your scale chart for consistency.
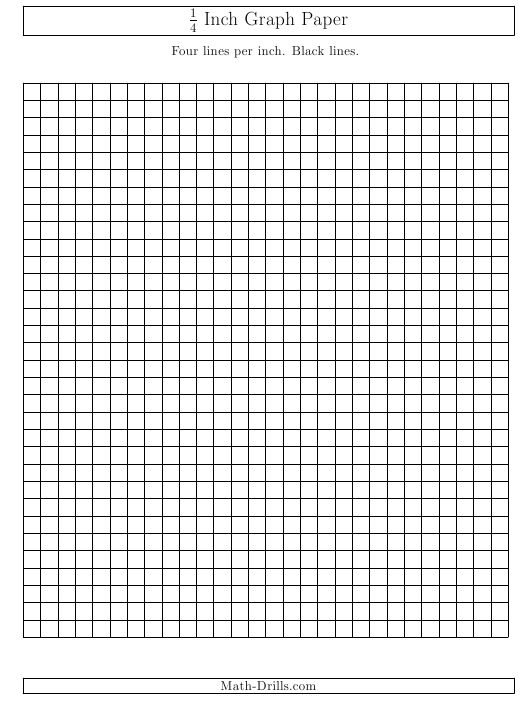
Conclusion: In homeschool architecture projects, the combination of grid paper, a thoughtful grid size, and careful printing practice creates a strong workflow. Start with a basic scale on a single sheet, then expand as ideas grow, keeping margins for notes. Label every draft and compare it to room measurements to build confidence before you cut and tape the final plan. With steady routines and clear categories, proportional drawings become practical tools for teaching geometry, design thinking, and project planning that your students will carry into real-world tasks.