
As a physics teacher, I know that a clean, consistent grid paper helps students translate ideas into measurable data. In our lab, the grid is more than a backdrop; it guides graphs, diagrams, and the way we communicate results. When we plan a lab, the grid becomes a reference for accuracy, proportion, and the clear notes colleagues rely on.
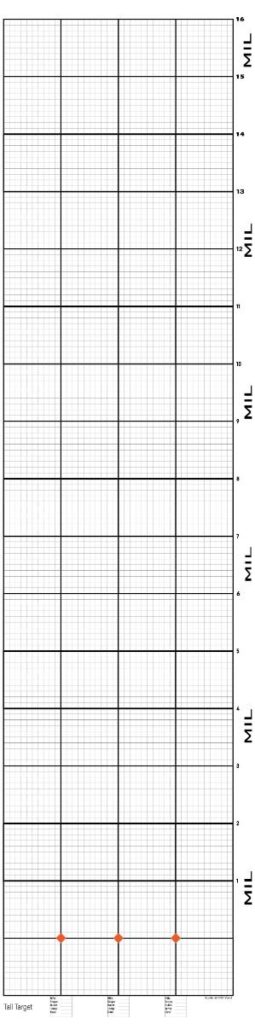
Choosing the right grid paper matters, especially when students sketch motion graphs, density plots, and circuit layouts. In the classroom, we learn that spacing and margins affect measurement accuracy and readability. For our activities, I emphasize target graph paper that matches standard margins and grid spacing for quick measurements and consistent scaling.
Planning the sketching workflow
Imagine a typical class where students rotate through stations. I start at the whiteboard with a quick sketch of axes, then we switch to a printed grid and a ruler to check margins. We discuss grid paper options, such as coordinate grids for plotting projectile ranges or square grids for hand drawn diagrams. The emphasis is on legibility, consistent scale, and reliable measurement references.
Grid size and scale
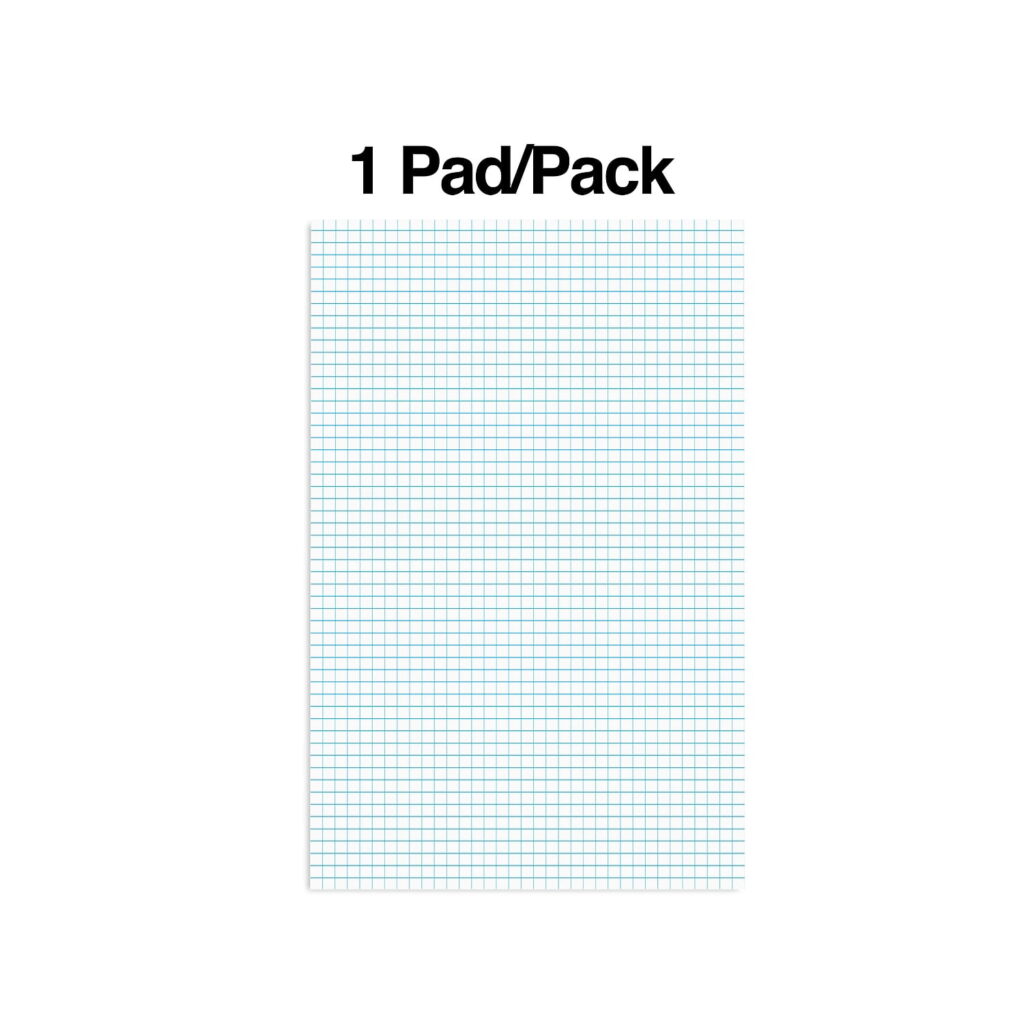
When planning a sketch, choose grid spacing that matches the smallest unit students will measure. For physics, a 1 cm square grid often supports clear axis labeling and a 0.1 second time step in graphs, while a 0.5 cm grid can be more compact for quick sketches. Always consider margins and the paper orientation to maximize usable drawing space.
In our lab, I assign a short sketch task for students to translate a physical scenario into a coordinate map. They label axes clearly, use consistent tick marks, and keep notes about units. We discuss how grid lines help avoid rounding errors when estimating velocities from distance-time graphs, or when sketching circuit layouts on a coordinate plane.
Printing and classroom setup
Before a new unit, I print a few test sheets to verify scale. Use the same paper size you plan to use in class, usually Letter or A4, and set the print to actual size with no fit to page. Check margins with a ruler at the bottom of the page, and verify that axis labels align with grid intersections.
Q: Which grid size works best for quick sketches; A: A 1 cm square grid on Letter-size paper in portrait orientation provides ample room for labels. Q: Should I use margins and border space; A: Yes, leave at least 0.5 cm margins to prevent rulers from crossing grid lines and to keep annotations clear. Q: Is landscape or portrait better for graphs; A: Portrait is usually better for vertical graphs and typical notebook spacing, while landscape can suit horizontal data sets.
Q: How can I verify accuracy after printing; A: Print a small calibration block and compare measured distances to the grid spacing with a ruler before approving the whole sheet.
In practice, the right grid paper choice supports precise communication in physics labs and helps students build confidence with data. Start with a clear goal for each drawing, set margins, and test print before a full class. By aligning paper size, grid spacing, and scale with your unit goals, you reduce errors and save class time. The result is sketches and graphs that are easy to understand and replicate.