
Last week I faced a tiny studio puzzle that felt bigger than it was. I grabbed a sheet of laser printable vinyl and tried to label a messy shelf, hoping a quick fix would save time tomorrow and keep things from sliding back into chaos.
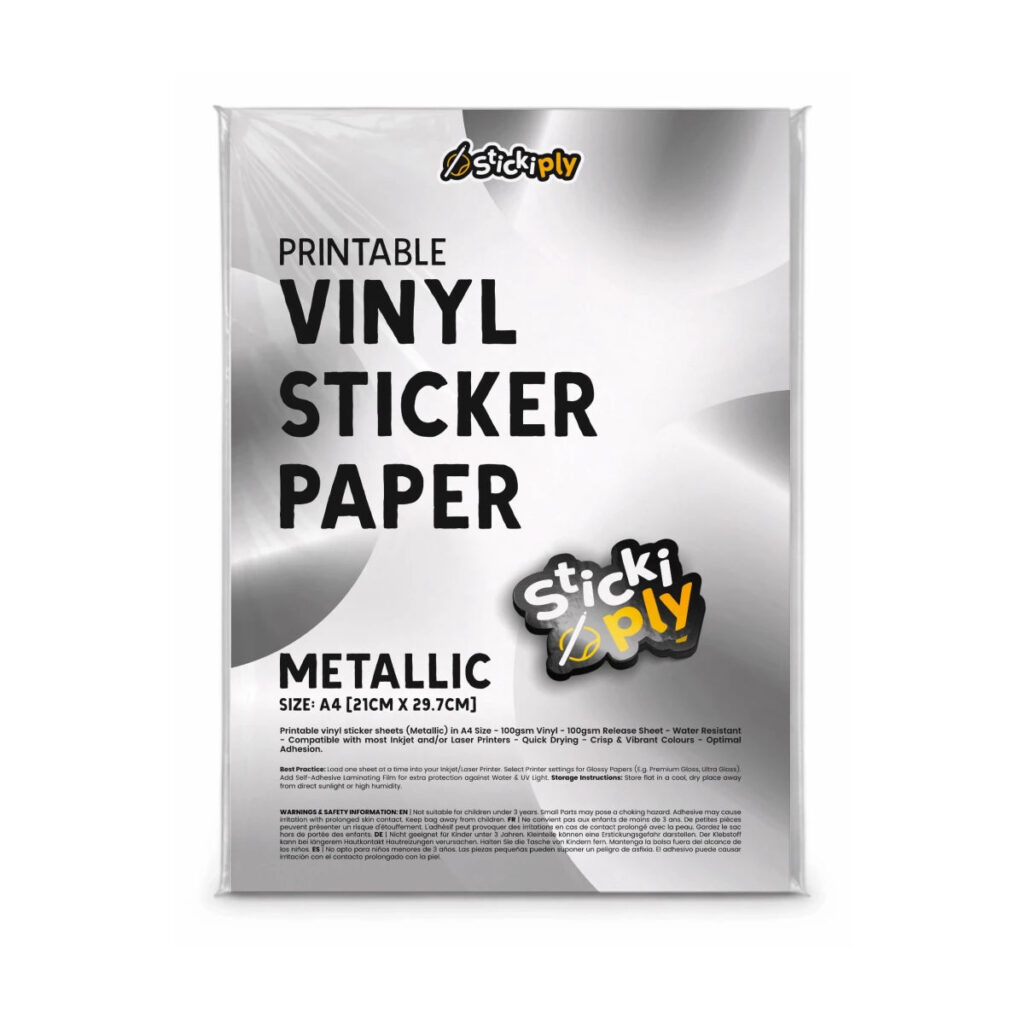
I'm not promising miracles. What surprised me is that this material cuts cleanly on a standard laser and sticks well to smooth plastic, but hates rough textures. I spent a few minutes dialing speed and power, then printed a tiny test strip to confirm the contrast. I learned to choose a compatible adhesive, measure the labels precisely, and accept a few imperfect edges as part of the process. For everyday organization, the results felt practical, not flawless.
What it can do
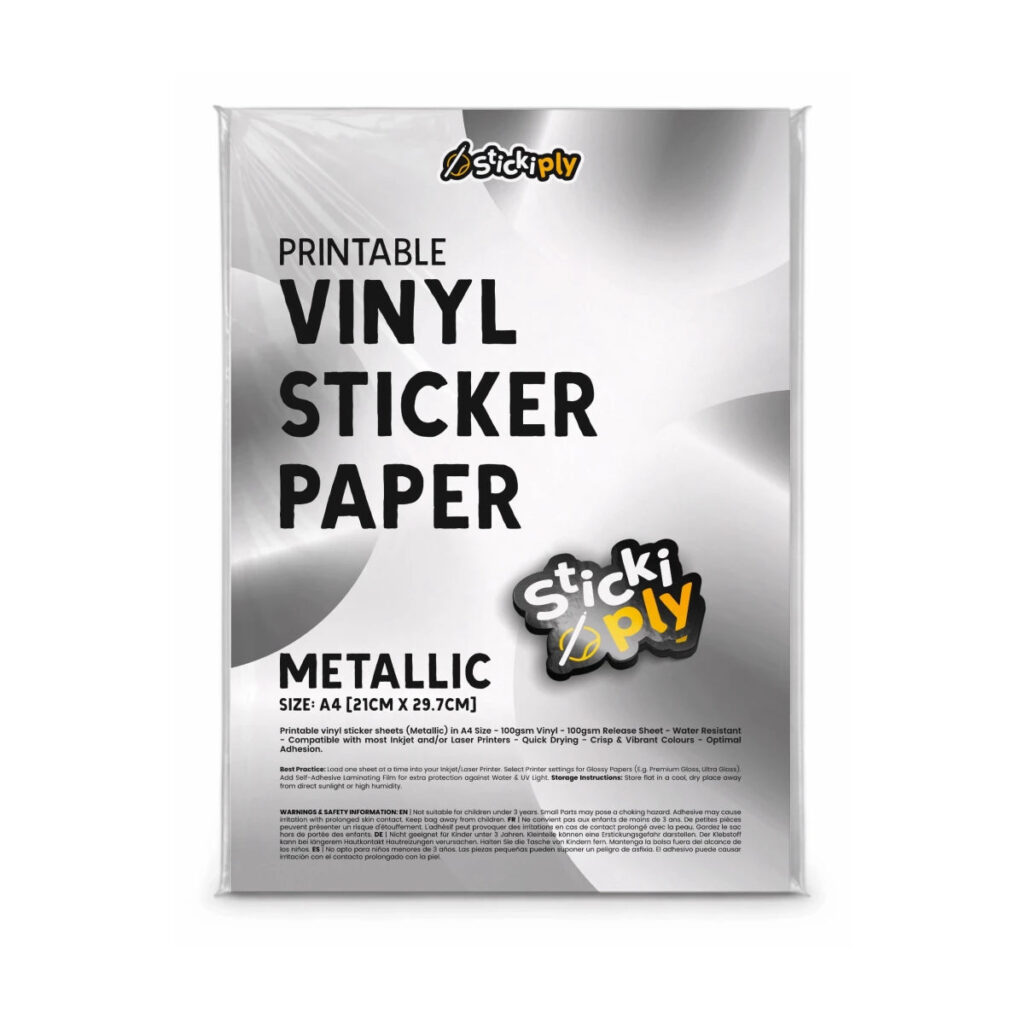
On smooth plastic bins and glass jars, the labels held up through a few dish washes and busy mornings, but I noticed mild edge lifting where textures were matte or brushed. I tried different transfer techniques, including a light burnish with a scraper and a gentle heat press. The takeaway is simple: it shines on slick surfaces and with a careful transfer step. It’s not a replacement for durable, printed labels, just a flexible, on-demand option for quick reorganizations.
Another limit showed up with color and finish. In daylight the results looked fine, but under warm bulbs the contrast shifted a bit, so I picked a high-contrast font and a matte finish to minimize glare. For items seen from a distance, go larger and bolder. For long-term placement, consider a laminate or spray seal. And remember: adhesives vary by material, so choose a permanent option for high-traffic uses or a removable one for frequent changes.
Tools and setup
To keep this practical, I used a simple workflow: I designed clean labels in a vector app, printed small test sheets, and fed them to the laser with a light pass to avoid scorching. I added alignment marks, used transfer tape, and pressed with a clean, even hand. The result looked neat, but not indestructible. I kept a stash of test scraps and noted which substrates needed extra burnish for future tweaks.
With my kids around, I found this approach handy for classroom labeling, lunchboxes, and bin organization. The labels survive short handwashing and daily handling, but I don't expect them to outlast heavy use or aggressive dishwashing. The real win is speed and customization, not perfection. It also keeps impulse purchases in check, since I already have a flexible option on hand, ready for quick reworks.
Practical tips
Practice on sample sheets, pick the right adhesive, and keep a low-tack tape handy for alignment. Wipe surfaces clean before application, and avoid glossy laminates if you want easy rework. If you need a more permanent label, seal with a thin clear coat after you finish. For best results, test on a surface similar to the final item and note any texture quirks. Most importantly, manage your expectations: this is a quick helper, not a miracle fix.
In the end, I treat this as another tool in the toolbox—useful for last-minute tweaks and light daily labeling, but not a substitute for thoughtful storage systems. I’ll keep experimenting, noting what textures and surfaces work best, and when I should skip it. For me, a small sheet of laser printable vinyl sits within reach for ordinary, livable upgrades, and a quiet reminder that good organization comes from steady routines as much as clever materials. Small bets add up over a busy week.