
As a technical drawing instructor, I see how disciplined grid work translates into compelling visuals. This approach turns simple square grids into thoughtful compositions, not random doodling. It helps students plan, measure, and scale ideas into durable results, including graph paper art that feels intentional.
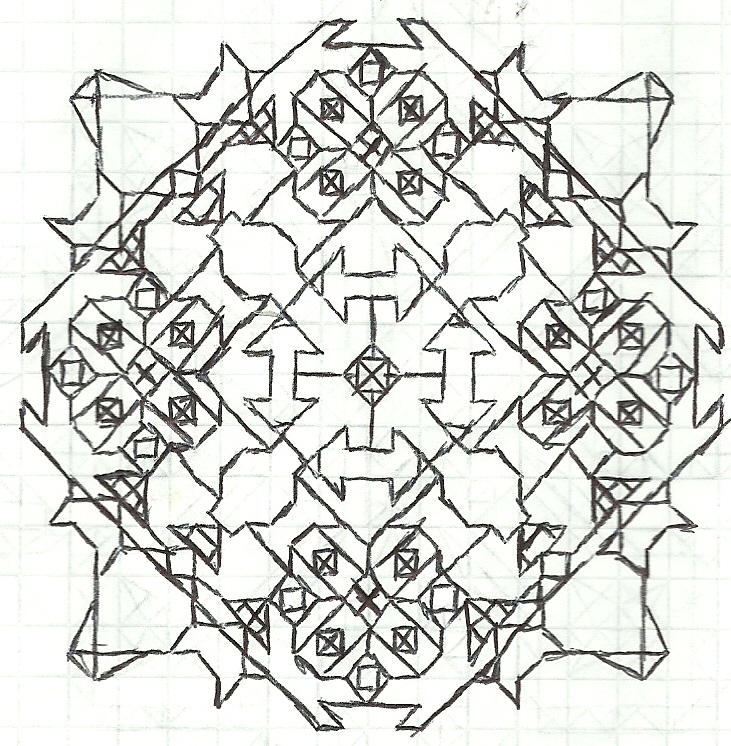
Many assume that graph paper art is a quick doodle on grid paper. In reality, it trains the eye to align elements with margins, maintain correct scale, and plan major features before drawing a single line. The myth of effortless symmetry fades as you practice deliberate preplanning and precise measurement. With careful grids, you reduce guesswork and improve consistency across multiple components.
Myth vs Reality
Designers often think grid choice is trivial. Reality shows that grid spacing, paper size, and orientation dramatically change readability. A wide square grid on letter stock emphasizes broad shapes; a compact grid on A4 invites tighter detail. Margins matter: too small, and lines crowd; too large, and the subject loses focus. The balance is practical, not theoretical.
Planning and Sketching
Start with a quick layout: decide your grid paper type, then set a rough scale for the subject. Mark margins and limit lines to the first draft. Sketch lightly with faint lines to test alignment before committing. Consider the final print size and viewing distance, since scale changes perception even on the same grid.
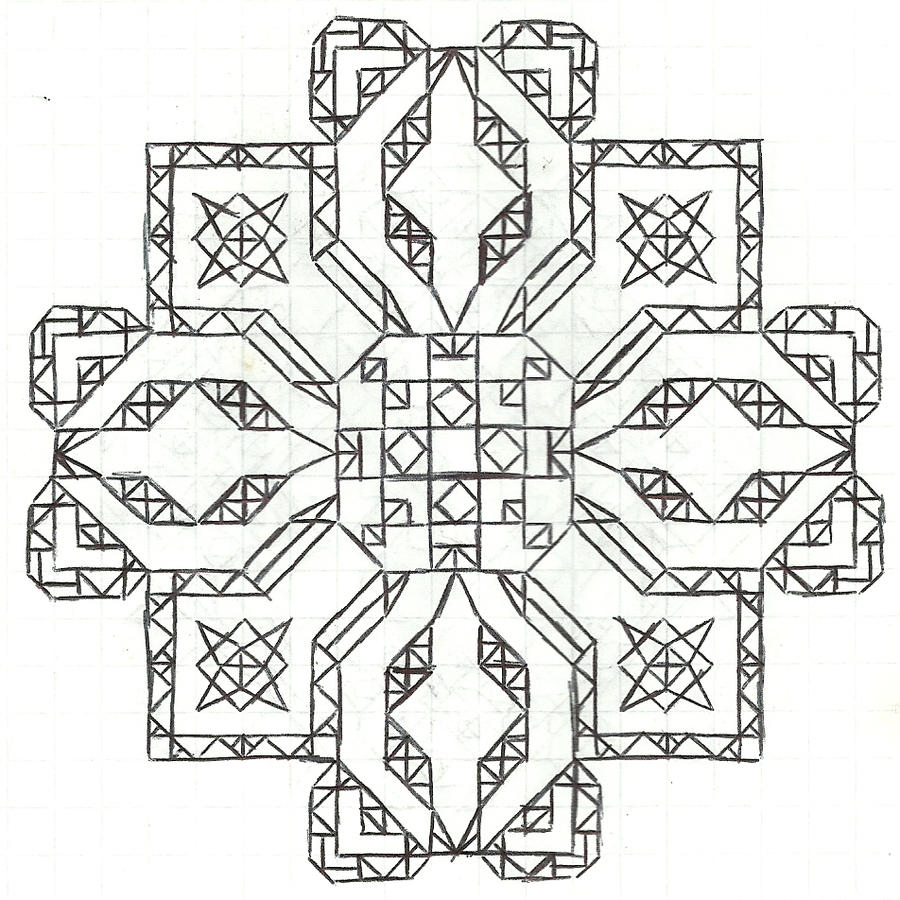
Next, translate the rough plan into a structured sketch. Build key relationships using coordinate guides for horizontals and verticals to keep symmetry. Check distances with a ruler, and recheck margins after major elements. Use a light pencil so you can adjust without erasing the grid.
Accuracy in Practice
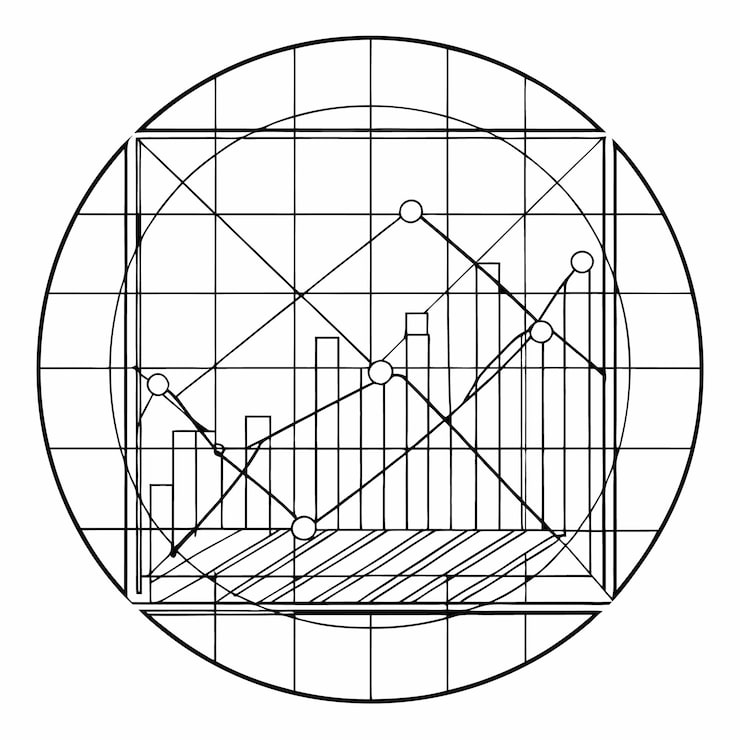
Choosing grid size is a tradeoff between flexibility and precision. For detailed work, a finer grid helps control features; for bold geometry, a coarser grid is easier to manage. Match paper size to final display and set margins to frame the subject. If you plan to share or print, consider printable grids and run a test print to verify fit.
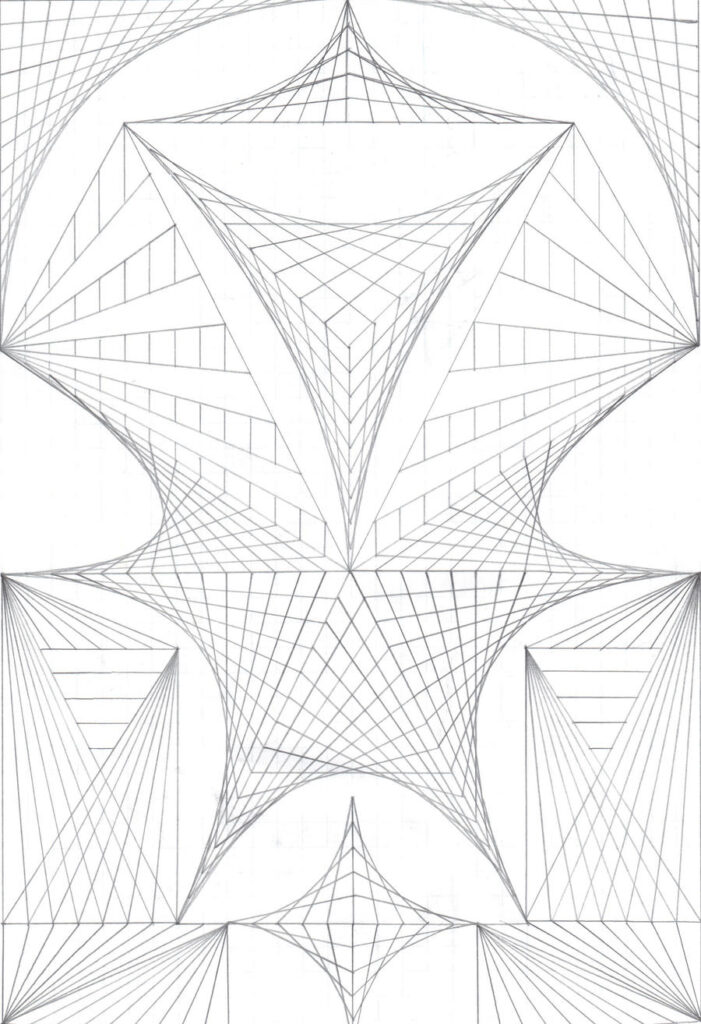
Conclusion: with careful planning, grid-based work becomes a reliable design tool that scales and transfers reliably. By using grid spacing, margins, and scale intentionally, you can produce work that reads clearly at different sizes. FAQ: Q1 How to choose grid size? A: Start with final print size and test. Q2 Is orientation critical? A: Align with subject shape. Q3 Best tool for accuracy? A: Use a light pencil and a ruler. Q4 Should I print at 100%? A: Yes, verify 1:1 scale.