
From a technical drawing perspective, quilting is a disciplined planning process. I start with quilting graph paper to map block units, margins, and seam allowances. This approach helps patterns scale reliably, visualize proportion, and reduce miscuts before fabric touches the table.
Many quilters view graph paper as a decorative accessory rather than a planning tool. The reality is that a simple grid becomes a reliable framework for counting units, aligning motifs, and testing layouts before stitching. It helps you see proportions and margins without committing fabric. That upfront planning shortens the redraws during sewing and reduces waste. This habit also communicates intent to others who may build or quilt from your plan.
Plan before you cut
Choosing the grid size is not a one-size-fits-all decision. A fine 1/4 inch grid works well for small blocks; a 1/2 inch grid suits larger motifs, while 5 mm grids fit many imperial to metric templates. Square grids translate easily to yardage and seam allowances once you set the scale. Always test on scrap paper first. Think of it as a bridge between concept and fabric, reducing guesswork as you translate ideas into a pattern.
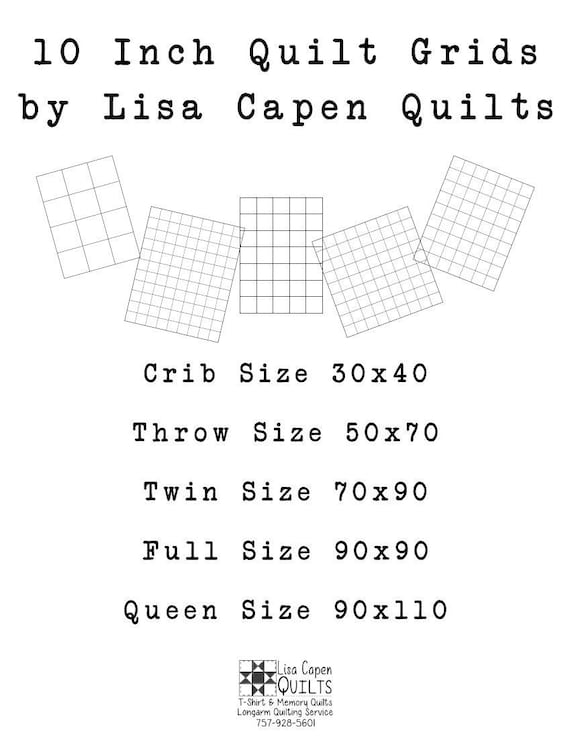
Another practical reality is matching grid paper to your final paper size and project margins. Printable grids allow you to plan across standard letter or A4 sizes, but you must verify margins and trimming. Use the printer’s print at 100% scale, turn off fit-to-page, and check a quick measurement with a ruler to ensure accuracy. Keep notes about your printer settings and grid choices so you can replicate a successful layout later.
Planning details
Orientation matters. Portrait layout can help with tall block arrangements; landscape suits wide palettes. Think in coordinate grids: assign each block a coordinate, then sketch the row and column relationships. Keep a safety margin around the outer edge so cutting remains accurate, and note the final trim size on the schematic. If you plan multiple repeats, label repeat units clearly and check that the characteristics align across the grid.
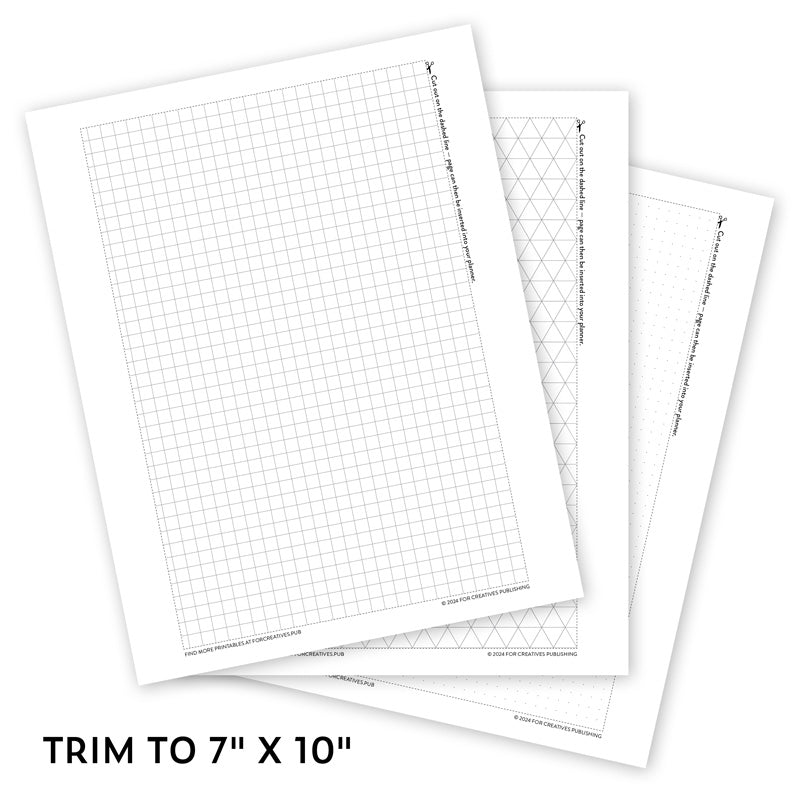
Begin with a rough hand sketch on the grid to establish overall rhythm. Label each block’s size, orientation, and required seam allowances. Refine the drawing by transferring it to a cleaner version on your chosen grid size, checking intersections at every corner. This disciplined process reduces confusion when you move from sketch to fabric. Keep a quick legend of abbreviations and a tally of required yardage to stay organized. A tidy record helps when you share the diagram.
From sketch to fabric
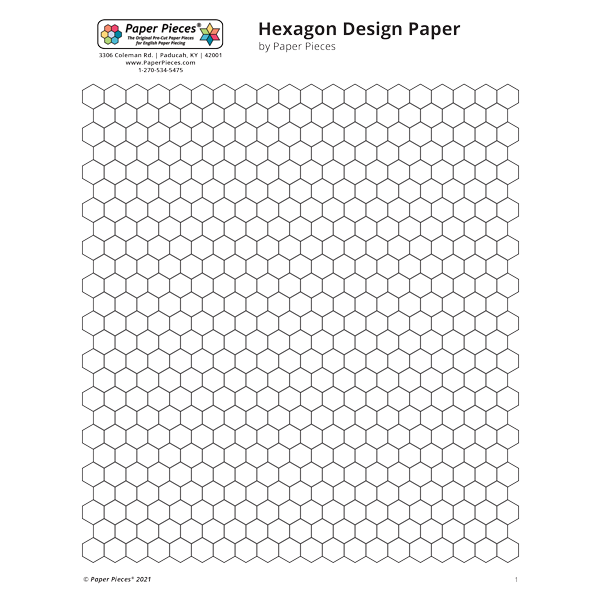
Turning a plan into a quilt begins with the right scale. If you draft at 1:1 on a grid, ensure the printed paper matches your preferred seam allowances. Cut out paper templates to verify fit, and compare with your actual fabric yardage. Remember to account for fabric shrinkage or batting thickness only as the project requires. Keep a running checklist to track pieces, margins, and color placement.
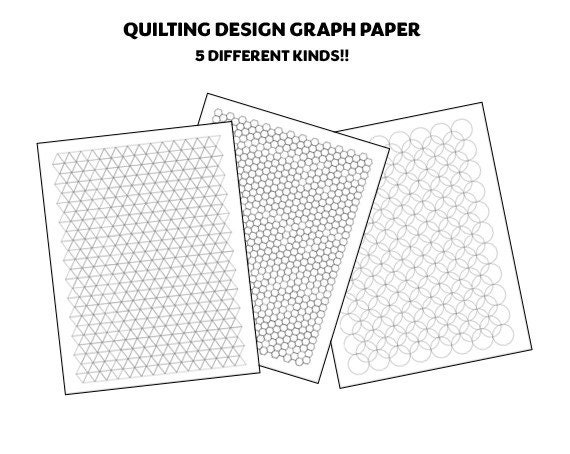
Ultimately, grid-based planning is a practical habit for accuracy and creativity. It makes pattern reuse easier, helps communicate with collaborators, and minimizes waste. The myth that graph paper slows progress falls away when you see how quickly design decisions become locked in before you cut a single fabric piece. Treat it as a drafting tool, not a decorative accessory. Practice, schedule, and revision turn a good plan into a great finish.