
As an architecture mentor, I encourage students to treat paper as a design tool, not just a surface. The right grid paper keeps lines honest and scales ideas clearly. When you are drafting schemes with colleagues, bulk graph paper helps you stay organized during rapid iterations.
Begin with the basics: grid paper is more than a notebook. It gives you a consistent scale, crisp lines, and predictable margins that help you compare options quickly. In teams, distributing sheets reduces miscommunication and keeps everyone aligned on grid spacing and measurement. For students, a simple edge legend reminding the scale can save time during reviews.
Grid system basics
Mistake 1: starting with too dense a grid for early ideas. Solution: use a coarser grid like 1/2 inch (or 5 mm) to sketch massing and relationships. When you are ready to refine, switch to a finer grid such as 1/4 inch (6 mm). This staggered approach keeps the page readable while you explore multiple concepts, saving time in early reviews.
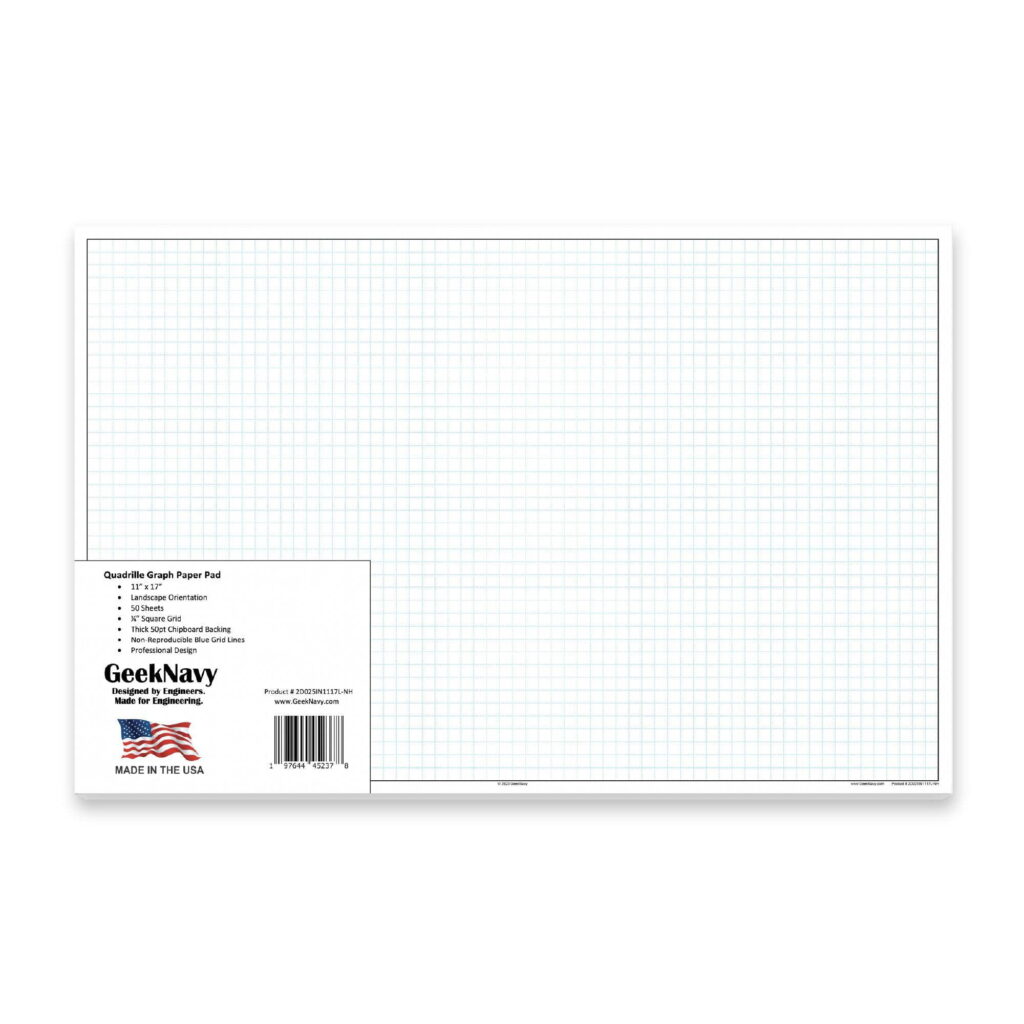
Mistake: using an awkward paper size that forces constant zooming or cropping. Solution: pick a common size (like letter or A3 for prints, A4 for drafts) and set consistent margins. For a project that travels between drafts and reviews, consider landscape orientation for wider layouts so you can fit more grid space without shrinking details. If you are sharing sheets, keep the same margins across all pages to avoid misalignment when taping them together.
Printing and setup
Mistake: ignoring printing scale and relying on on-screen measurements. Solution: print a scale check rectangle at the corner of your sheet and measure with a ruler before starting. If the rectangle reads 1:1 on the page, you know your printer and browser settings align with your grid. Adjust margins or scale as needed. For team reviews, confirm that every participant uses the same scale before drawing on top of the grid.
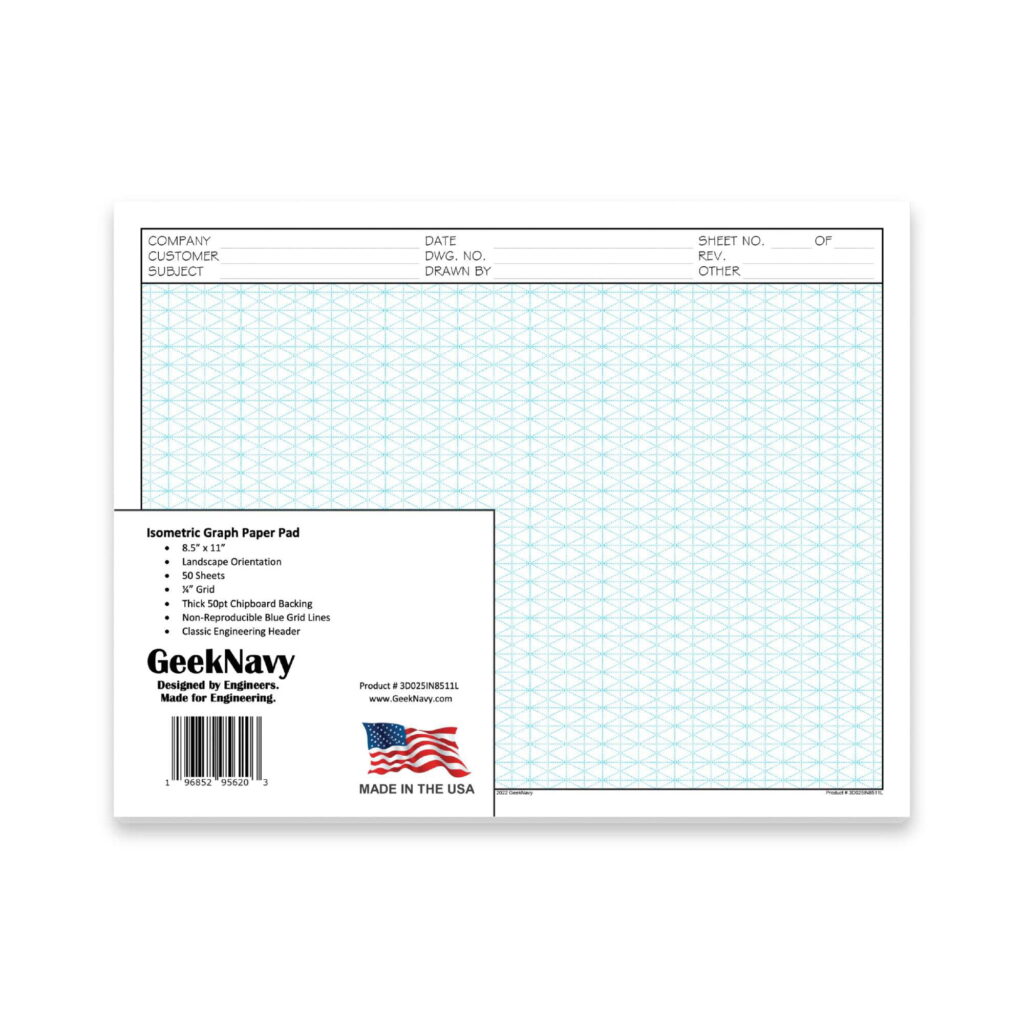
Mistake: multiple copies of the same sheet drift apart in a review. Solution: standardize orientation, margins, and the legend area. Provide a simple key for grid spacing and scale on every printable so everyone reads the same lines the same way. When possible, use the same paper size across the team to avoid confusion. If you need to annotate, keep notes in a reserved margin that doesn’t crowd the drawing.
FAQ
Q1: What grid size should I start with for architectural sketches? A1: Start with a coarser grid (5 mm or 1/4 inch) for massing and layout, then switch to finer grids for detailing. Q2: How do I choose a paper size for team reviews? A2: Choose a common size like A3 or letter for rough work, and keep margins consistent so you can tape sheets side by side. If you are handing out a stack, label each sheet.
Q3: Can printable grids be used for non-architectural projects? A3: Yes. Grid paper helps with any planning task that benefits from measurement grids, such as layout planning, site diagrams, or interior planning. Q4: How can I verify accuracy during early sketches? A4: Use consistent margins, a border for notes, and check key dimensions with a ruler after outlining major shapes. The core idea is to keep your grid honest, flexible, and repeatable.