
As an art teacher, I see students grow when they translate ideas onto grid paper. A well-chosen graph paper print can turn rough sketches into precise studies, from perspective grids to scale models. It’s more than lines—it's a framework for confident drawing.
With grid paper, measurements become visible and proportion feels less mysterious. The right spacing helps you map angles, practice shading over a stable plan, and compare revisions quickly. When students start a piece by laying out the major blocks, they stay oriented and less overwhelmed. A calm, deliberate start often yields stronger composition, easier adjustments, and clearer communication of ideas to an audience in critiques and classroom discussions. It also helps students compare progress over time.
Choosing grid sizes
Grid spacing affects detail and speed. A 1/4 inch square grid gives a comfortable balance for figure drawing, while a 1/8 inch grid supports fine textures or technical diagrams. Consider coordinate grids for math based subjects, and square grids for freehand sketches. If you work with ideas, you can switch to a grid and sketch; if you need precision, zoom in with smaller squares. Think about margins and the paper size you will use so your drawing stays centered.
Paper size and orientation matter when you plan a class exercise. Letter size or A4 work well for quick sketches, but larger projects benefit from tabloid or A3 formats. Portrait orientation helps tall drawings, while landscape suits wide scenes. Decide first so your grid aligns with the composition and the margins remain comfortable. This reduces errors when translating a concept into a figure. Encourage test layouts.
Printing tips
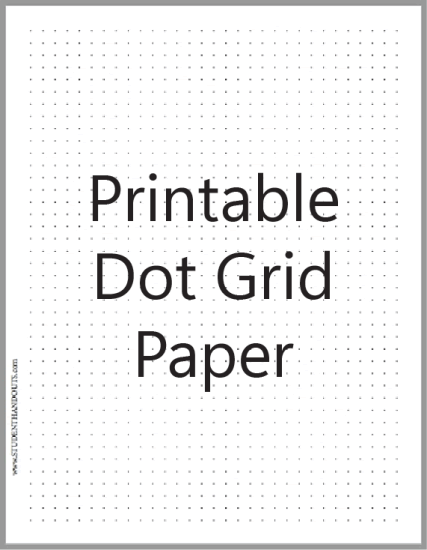
Printing tips: In the print dialog, choose 100 percent scale and avoid fit to page or shrink to fit. Use a plain sheet of paper and test print a small block to confirm grid spacing. If something seems off, double check your browser's and printer's scale settings and repeat until the grid lines align with reality. For best results, print a second copy on heavier paper for practice. Keep a spare printed copy for comparisons.
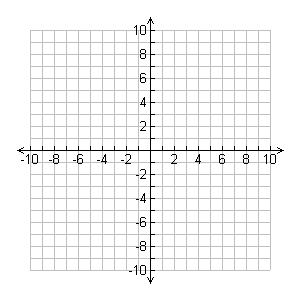
Using grid paper in drawing exercises is practical. Start by tracing a simple cube across several squares to learn proportion, then map a figure by blocking major shapes in the grid. Move to shading tests or texture studies, always returning to the underlying grid to verify angles and alignment. This helps students compare how their lines relate to the grid and notice when angles drift. Make quick notes.
Printable grids vs traditional grids
Printable grids let you tailor spacing for each project, swap grid types between assignments, and print on demand. Traditional grid notebooks offer built in lines with less setup, and travel-friendly portability. The tradeoff is flexibility versus convenience: choose printable grids when variety and adjustment matter, and a notebook when speed, consistency, and durability count. For classroom use, a mix often works best. It saves class time for future projects.
Measurement accuracy
Practical advice about grid size and paper choice: pick a spacing that fits your subject, such as 1/4 inch for general drawing or 1/8 inch for detail. Choose letter size or A4 and decide orientation early. In printing, set to 100 percent and avoid scaling options. Then verify with a ruler to ensure the printed grid matches the intended measurements, and adjust if needed. Testing this in class helps.
Conclusion: A thoughtful approach to grid paper print turns rough ideas into clear drawings. Start with the grid that fits your subject, test print for accuracy, and use exercises that reinforce proportion and alignment. By pairing simple checks with flexible options, you build habits that help any project stay measured, balanced, and visually coherent for future work and growth.