
As a homeschool parent, I design weekly architecture sketch lessons that blend math and design. We begin with simple measurements, grid layouts, and scaled drawings that gradually build confidence and precision. A steady routine helps kids stay curious, focused, and excited to learn.
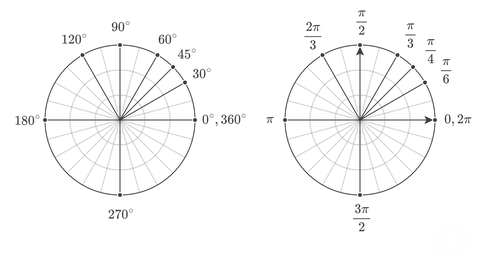
Using radian graph paper in these lessons helps students translate circular ideas into concrete plans. It supports proportional drawing by linking angles to real-world measurements, which is essential for floor plans and elevation sketches. When a child measures a room and translates it into a scaled grid, accuracy improves without dulling creativity. The grid acts as a patient tutor, guiding lines, arcs, and relationships between parts of a design.
Practical uses in architectural sketching
With grid paper, students see how unit squares map to real dimensions and how margins and scale influence your drawing. Grid spacing options keep projects readable, whether you’re sketching a simple room or a multi-room plan. A coordinate grid helps place doors, windows, and furniture consistently as layouts evolve.
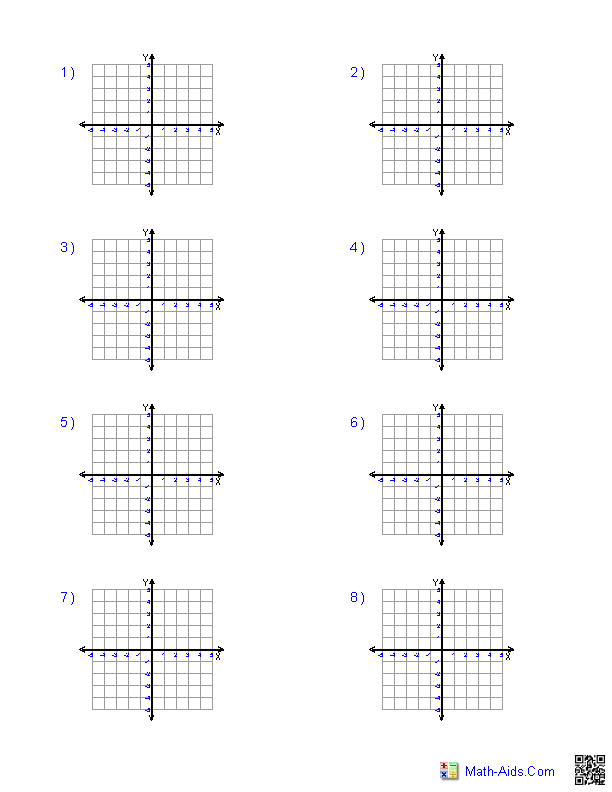
For a homeschool project, you might start with a rough floor plan on a larger sheet, then tighten details on a smaller, higher-resolution grid. Use square grids to arrange rooms, rotate shapes to test flow, and practice proportional drawings that maintain door widths and hallway lengths. A few quick sketches can become accurate layouts if you check dimensions against a scale.
Choosing grid size and paper orientation
Grid size affects how much you can fit on a page. A 1/4 inch grid is generous for floor plans, while 1/8 inch is better for finer cabinetry details. For metric work, 5 mm grids pair well with A4 or letter-size pages. Printing scale and margins Plan margins mindfully so you leave space for notes.
When preparing to print or view on screen, set the scale to 1:1 and then check the measurements with a ruler. If your prints shrink or stretch, adjust browser or printer settings and test with a blank page first. Remember to verify that the drawn lengths match the intended feet or meters before you begin a full drawing.
Workflow for homeschool families
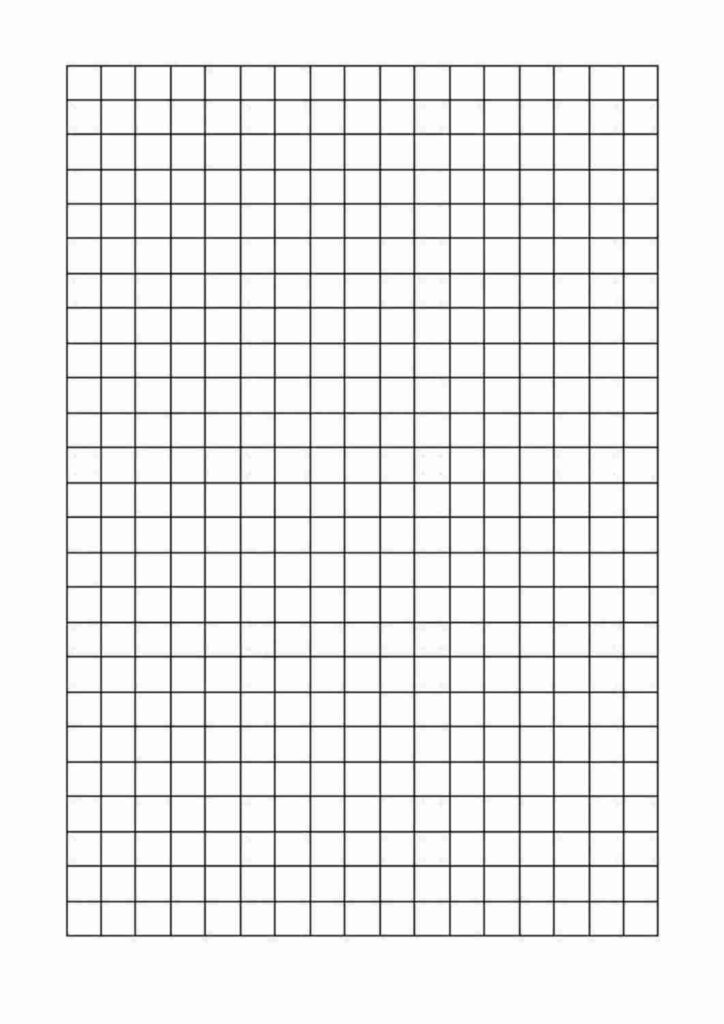
FAQ: Q1 What grid size should I start with? A1 Begin with a 1/4 inch grid (or 5 mm for metric) to balance readability and room for notes. Q2 How can I ensure accurate prints? A2 Print a test page at the intended paper size and measure a known length. Q3 What about paper orientation? A3 Landscape is often helpful for longer walls, while portrait can work for elevations.
Q4 How precise should dimensions be in early sketches? A4 Use whole units with tenths where needed for accuracy. Final takeaway: choose a grid size that matches your project, print a test page, and iterate until your measurements align with reality.
Q5 How should margins be used in homeschool plans? A5 Leave at least 0.5 inches (12 mm) of margins for notes and future edits. Q6 What if I’m working with different paper sizes? A6 Start with the grid you chose on a standard letter or A4 page, then scale accordingly when you switch sizes. Conclusion: the practical path is to pick a sensible grid, verify scale with a test print, and iterate as needed for accurate, proportional layouts.