
In my physics classroom, having graph paper nearby helps students translate ideas into precise sketches. The grid lines guide our measurements, and the habit of recording steps on clean, ruled sheets keeps explanations clear. I design labs around this reliable drafting tool.
Graphic clarity in physics begins with choosing the right grid paper. Square grids, coordinate grids, and printable grids offer distinct advantages for plotting data and sketching diagrams. When students design experiments, I help them pick grid spacing that matches the measurement range—smaller squares for precision, larger squares for quick visual planning. The goal is to keep the notebook readable and the math clear.
Grid paper essentials
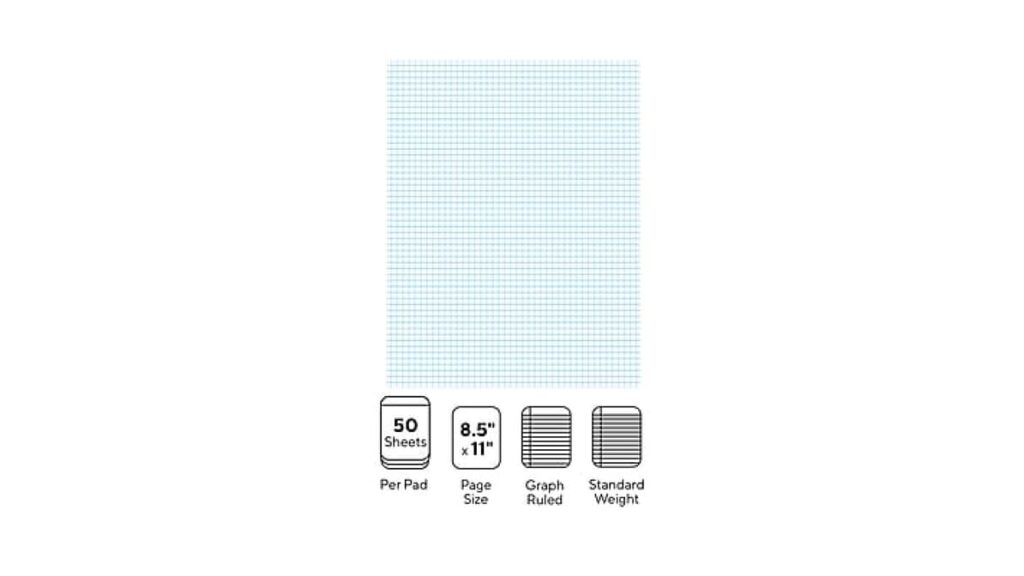
In class I introduce a motion mapping project. Students plan graphs by laying out axes on the grid and leaving margins for notes and units. We discuss paper size and orientation early because wide layouts fit velocity diagrams and tall layouts suit displacement plots. The grid lines act as scaffolding, keeping ideas aligned as sketches become data plots.
This section explains how to translate a sketch into a reliable plan for an experiment. Students sketch a circuit or a pendulum setup on grid paper, labeling points with coordinates or timing marks. We talk about scale, for example one square equals one centimeter or 0.5 seconds depending on the data. The result is a plan that can be tested in lab and reviewed with a rubric.
Grid size and layout
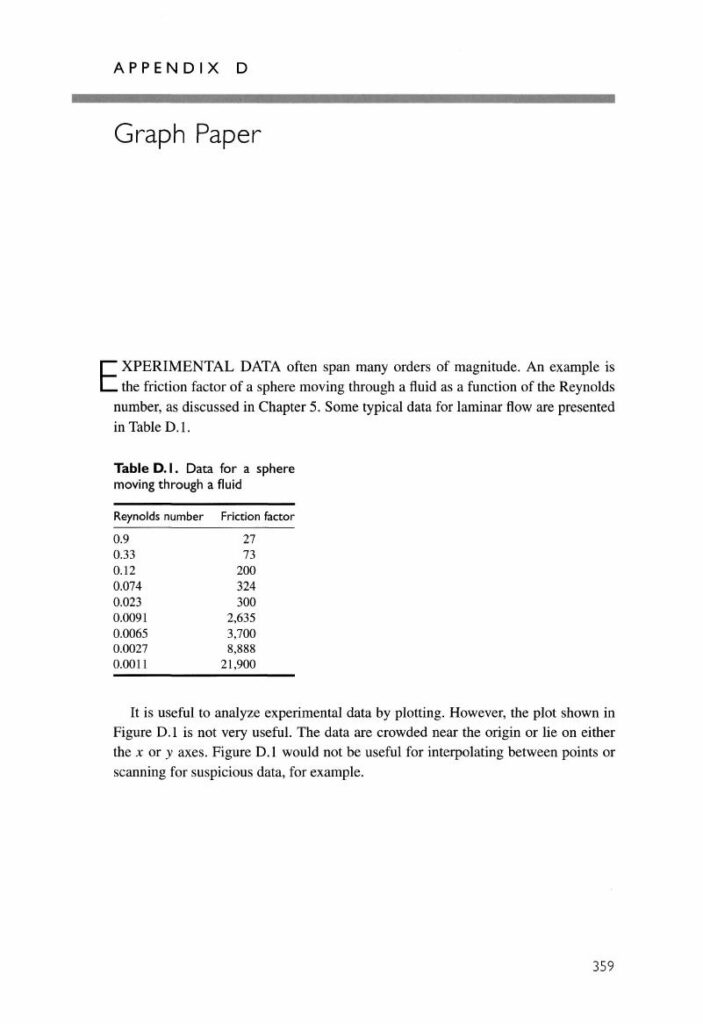
Next, we design a workflow for sketching by hand and then digitizing results. The teacher demonstrates a quick grid paper warm up: plot a few data points, draw a line, annotate uncertainties. I emphasize margins and clear axis labels. Students practice redrawing a diagram with improved alignment and legibility.
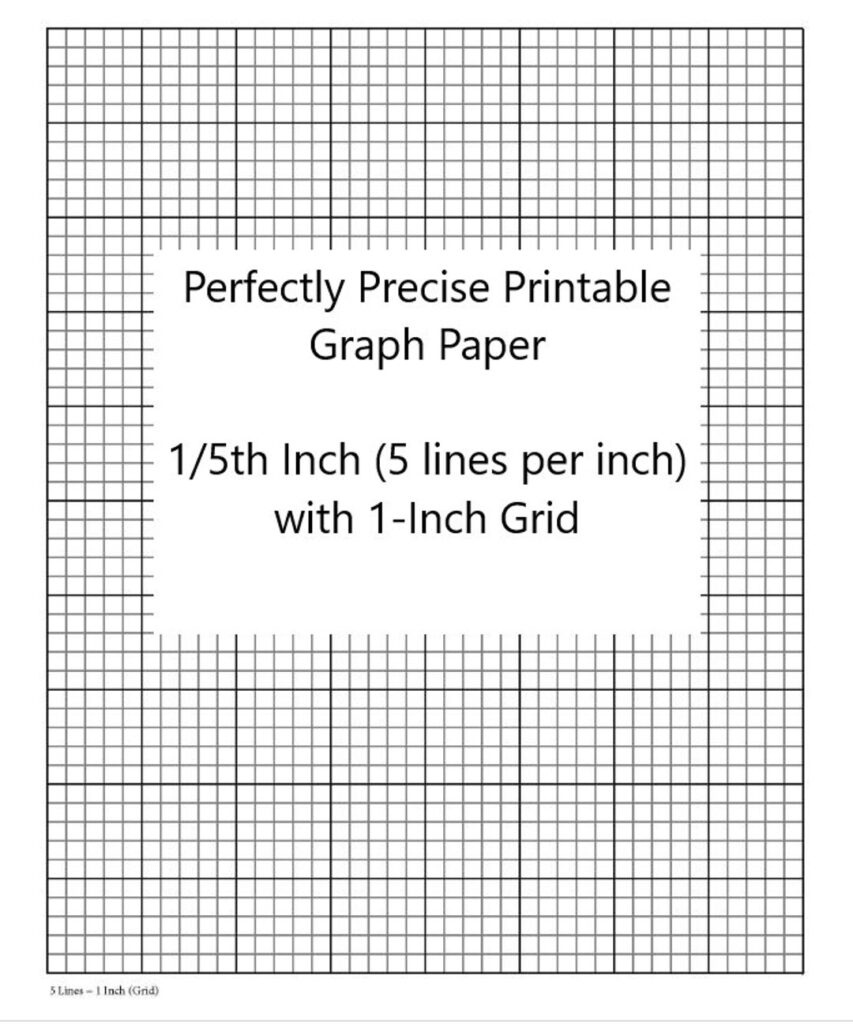
We then discuss practical choices: grid spacing, paper size, orientation, and printing scale. For long graphs, use letter size or A4 with margins wide enough for titles and units. If students print at home, remind them to adjust page scaling in the browser or printer dialog so that the grid remains square. In class, we laminate a few printable grids for reuse.
Printing and setup
In addition to layout, I share tips about accuracy and measurement. Verify that the grid spacing matches the instrument precision; measure with a ruler and compare to the reported scale. Encourage students to annotate their graphs with units, uncertainties, and a brief caption. The emphasis is on reproducibility and clear communication, not on art.
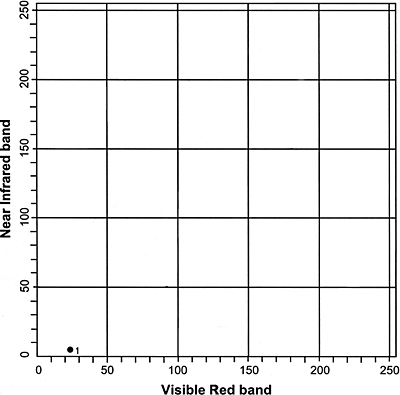
Sketching workflow
Q1: How to pick grid size for physics sketches? A1: Start with 1 cm squares for most tasks. Q2: Print orientation? A2: Landscape fits wide graphs, portrait fits tall sketches. Q3: How to ensure accuracy? A3: Check margins and compare critical coordinates to known values. Q4: About printable grids and margins? A4: Use grids with clear margins and verify with a ruler.
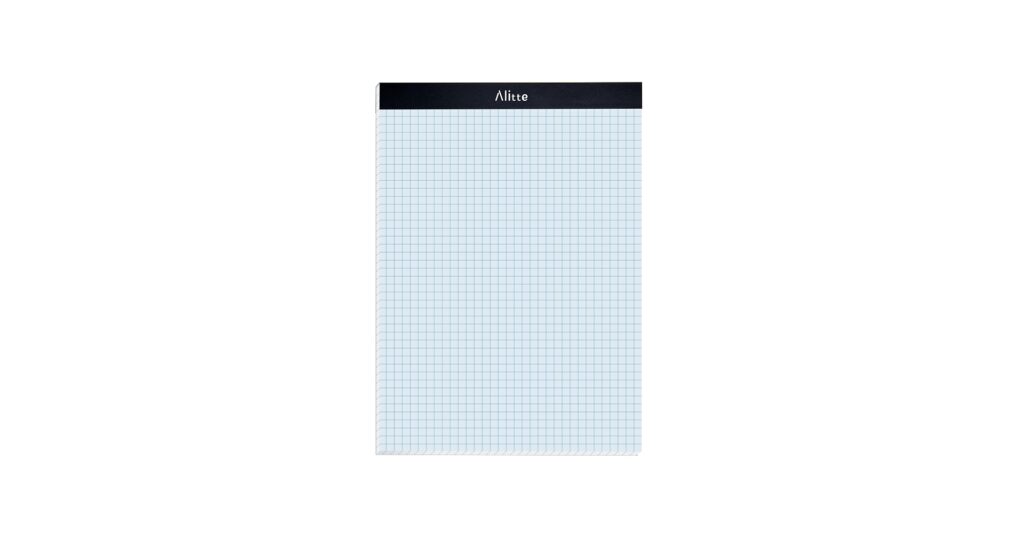
With the right grid spacing and a clear plan, students translate theory into practice. The effect is visible in cleaner graphs, stronger lab notebooks, and steadier data collection. Grid paper while reading and sketching forms a reliable baseline for experimental work. By choosing paper size, orientation, and margins thoughtfully, you set up a classroom culture that values accuracy and clear communication.