
On a rainy Tuesday afternoon I dug through the cabinet for a project that would blend handwriting practice with a bit of creativity. Among the worksheets I found a printable dog template that looked approachable for a quick art and cut-and-paste activity. It felt practical and inviting.
In our homeschool, days are a mix of schedules, snack breaks, and discoveries. The template gave us a concrete, beginner-friendly task that still felt meaningful. My older child traced the silhouette with careful lines, while my younger one practiced basic scissors skills, turning a blank page into a small display board for our weekly art wall. It wasn’t revolutionary, but the rhythm of collaborating around a single project landed well. That rhythm carried us through a few tougher days, too.
A Real Use Case
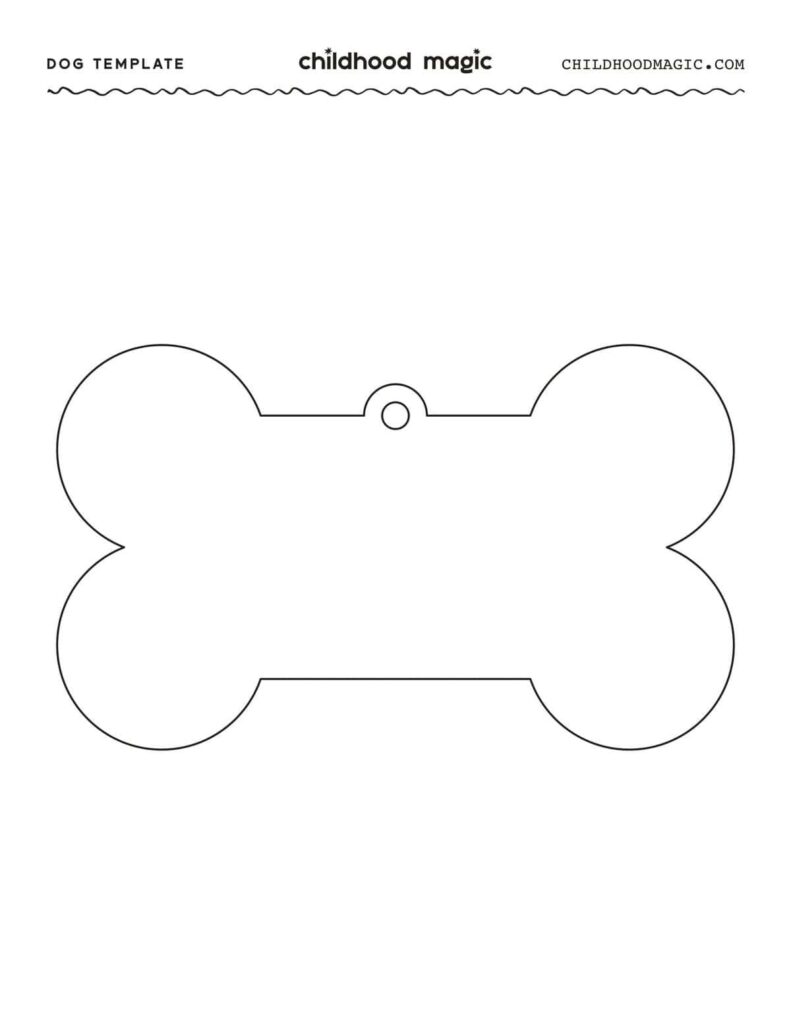
One real use case came when we wrapped a short unit on dogs and habitats. We printed the template on plain paper, used it to discuss symmetry, and then cut out the shapes to assemble a playful collage on a poster board. The exercise blended literacy prompts, like labeling parts and describing features, with fine-motor practice, and the kids enjoyed seeing a dog come together from simple pieces. We even taped the finished pieces to our whiteboard and compared different breeds our family admired.
Reality Check
Yet it's not all perfect edges and neat color blocks. A real limitation surfaced when printing on regular paper: the lines sometimes blur a little, and the scale can shift if margins aren't set exactly the same on every page. The result is a fragile first draft rather than a museum-ready figure, which is a reminder to keep expectations modest. If I let it, the template can become a distraction from the bigger goal of practicing through play.
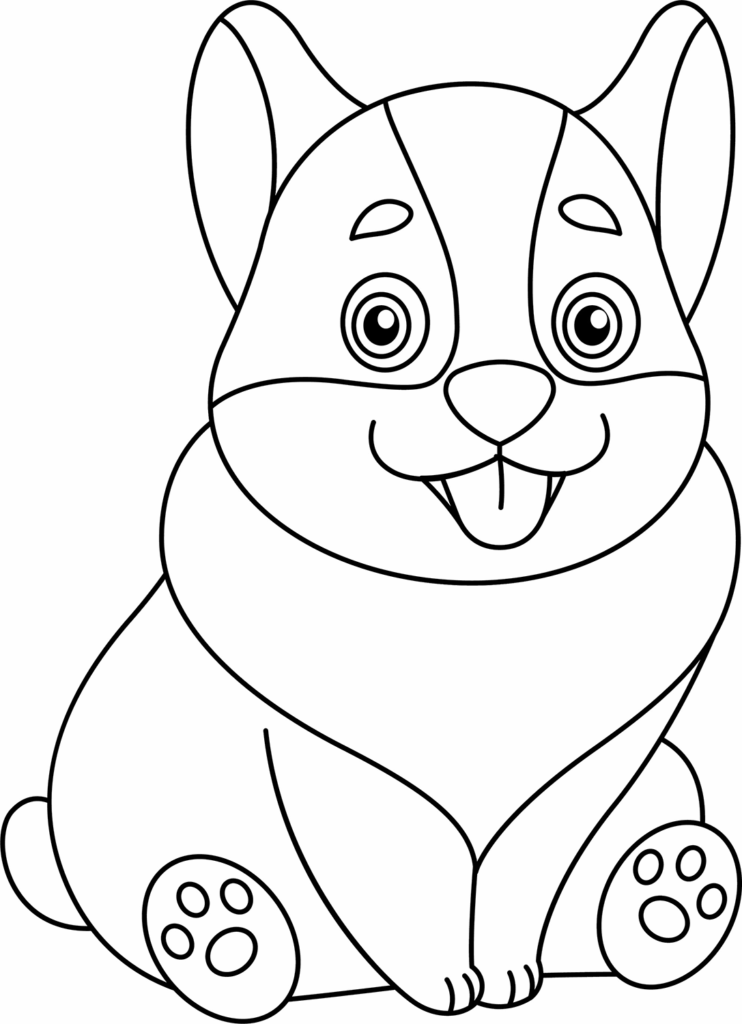
To offset that, I keep a stack of cardstock, a sharp pair of scissors, and a dark marker for reinforcing edges after tracing. We also make a habit of enlarging the image a notch when printing for my older kids, so the pieces are easier to manage without tearing. Those small tweaks saved a lot of frustration and gave us room to discuss color choices and texture.
Practical Steps
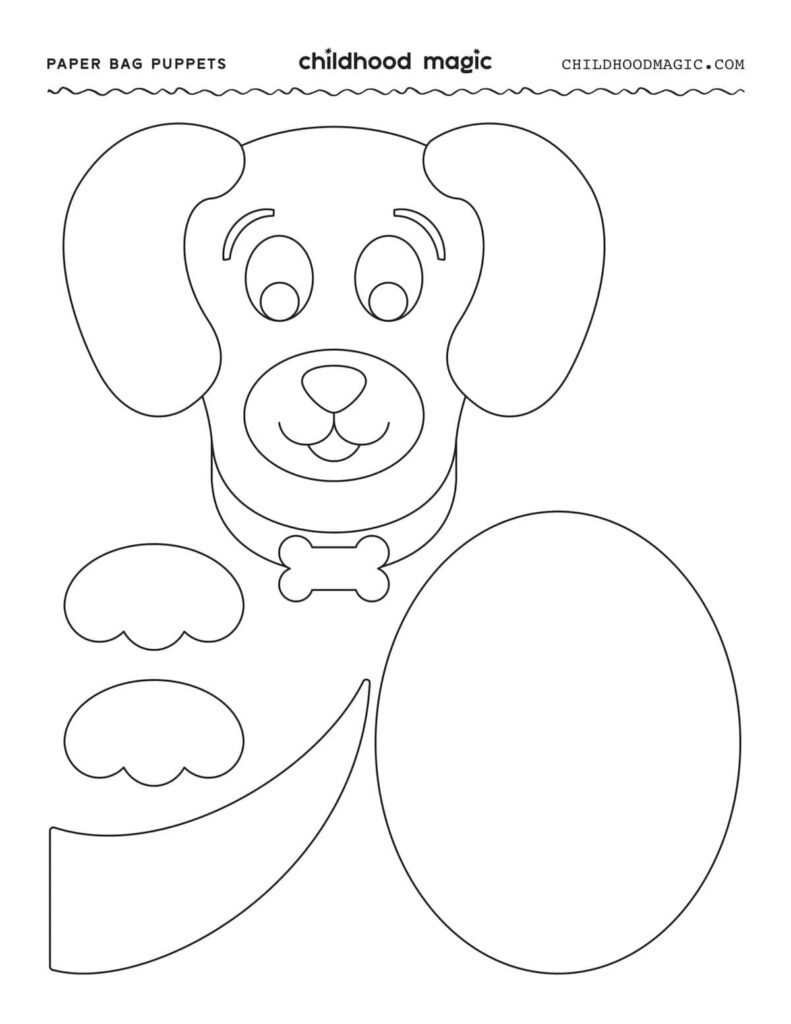
Here's a simple workflow that feels doable: pick a classic dog silhouette with clean lines; print it on regular paper; place a light source behind a sheet so tracing is easy; trace on a second sheet; cut along the marked lines; color and decorate, then mount the figure on a card for display. If you want, photograph the result and print a small set of keepsakes for a family notebook. If you work with small prints, keep color minimal.
For younger learners, we simplify by using only the head and ears, then add body shapes with stickers or colored shapes. For older students, we can measure distances between features and compare proportions, discussing how variations in line weight change the feel of the final piece. The aim remains practice, not perfection, and that’s a good boundary for our table. It also invites brief reflections.
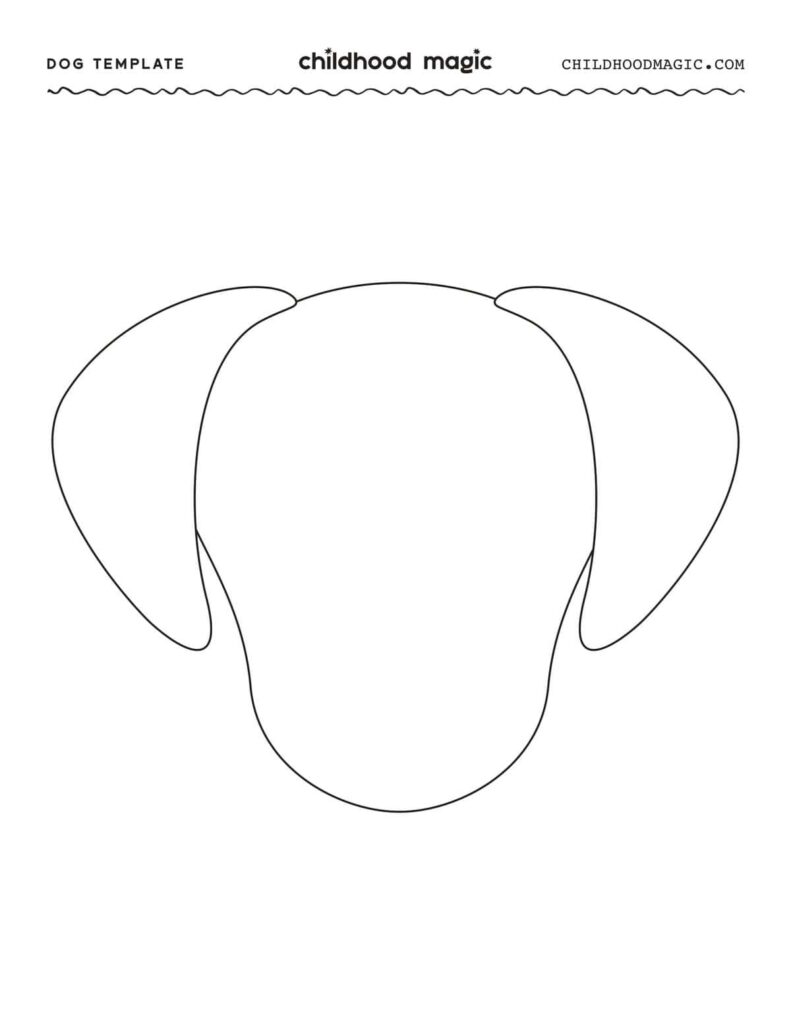
Ultimately, this small, imperfect project fits into our days by offering a clear, repeatable activity that builds confidence and hands-on skills without overwhelming the schedule. It gives my kids a sense of ownership and a moment to celebrate progress over polish. If you're looking for a doable, low-stakes option, keep a few templates ready and remember that progress beats perfection, especially with a printable dog template, and that a gentle pace yields lasting learning. Every day counts in practice.