
As a designer who loves practical, low-stress classroom projects, I keep a small stash of ready-to-print ideas on my desk. When a library asked for a quick Thanksgiving craft, I pulled out a pilgrim hat printable to test with a group of kids.
At first glance, it felt like a no-brainer: a simple hat shape and a printable would save time in a busy workshop. In practice, crisp cuts, visible scoring lines, and a forgiving color palette mattered far more than flashy textures. It reminded me that beginners need clear instructions, not just pretty outlines, and a quick test run with a small class helps reveal where kids hesitate, saving later frustration.
Design approach
I started with light card stock and two scale options, then printed on standard letter-size pages. I scored along the fold lines with a dull blade to avoid tearing, and I left a slim tab for tape or glue. The result held its shape in a classroom without feeling overly sturdy or too fragile. I kept a spare sheet to compare colors and observe which combinations looked best under classroom lights.
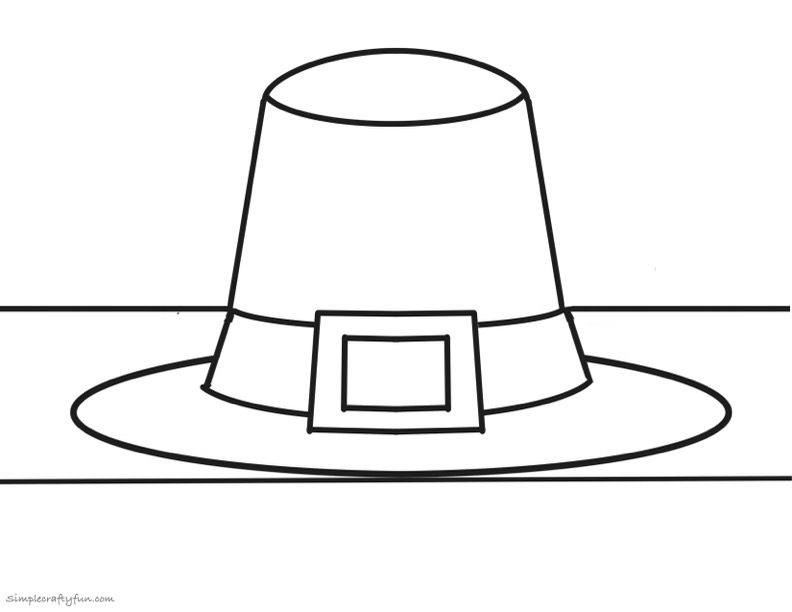
During the workshop, kids cut along the outer edges, folded the crown, and glued a band around it. A few wore the hats for a tiny photo booth and a short, improvised harvest skit, while others used them as props for a storytelling moment. Watching small hands manage glue and tape, stay on task, and laugh at imperfect edges reminded me that practicality beats perfection.
Limitations
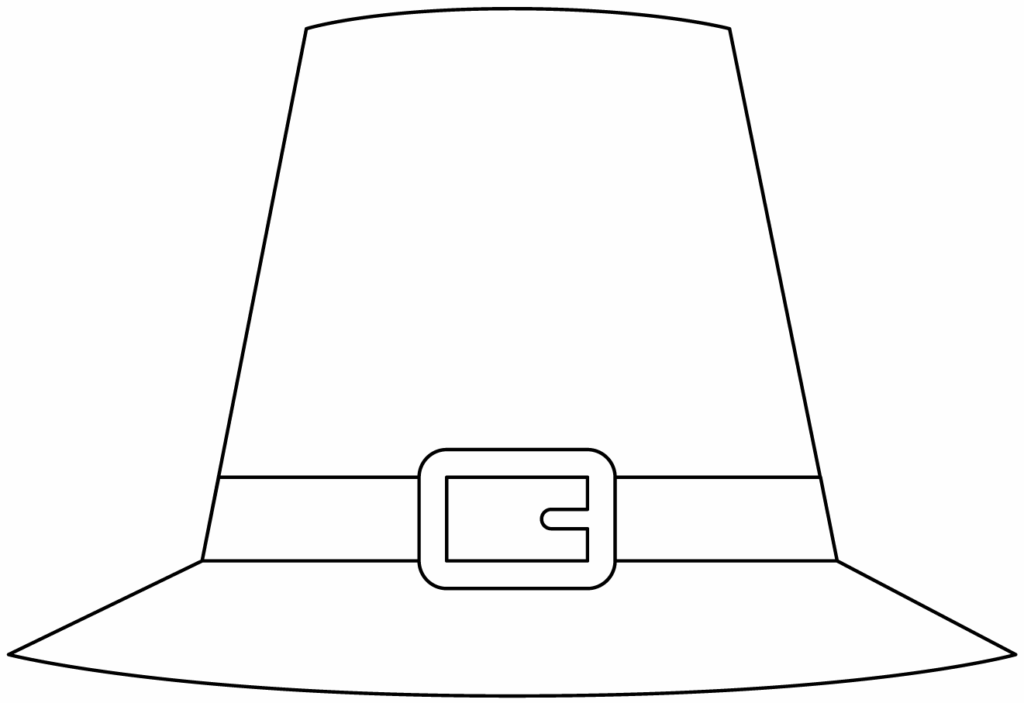
For younger makers, pre-cut pieces or larger tabs make assembly easier, and a single-piece hat with a peel-and-stick band helps too. For older kids, adding a back strap or elastic can turn the prop into a wearable item. The key is to offer options rather than insisting on a single method, and to provide a light, forgiving canvas that invites creativity.
I would add an optional perforation line for a snap-fit crown, and provide a printable in both portrait and landscape orientations. A short assembly video linked in the notes would be helpful, but not required, for kinesthetic learners. I would also include a simple checklist for teachers so they can quickly see what to cut, what to pre-assemble, and what to demo first.
Ideal users
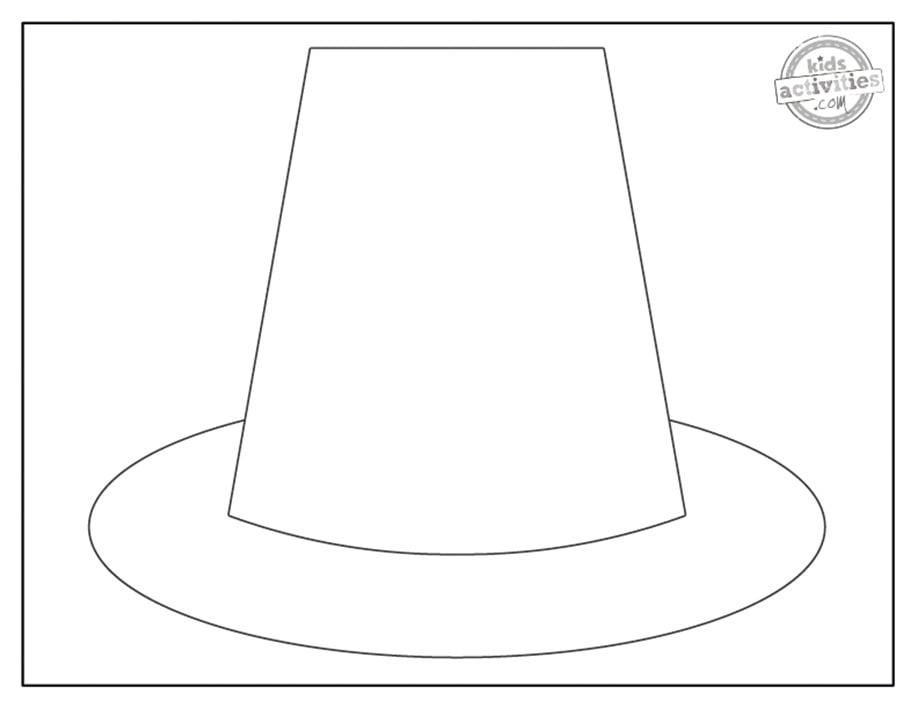
These printables work well for small-group activities in libraries, after-school clubs, classroom centers, or at-home craft nights. They aren't a magic fix for every situation, but they provide a ready-made starting point that can be adapted to a quiet literacy corner or a lively storytelling moment with a simple prop. In practice, the flexibility matters as much as the design.
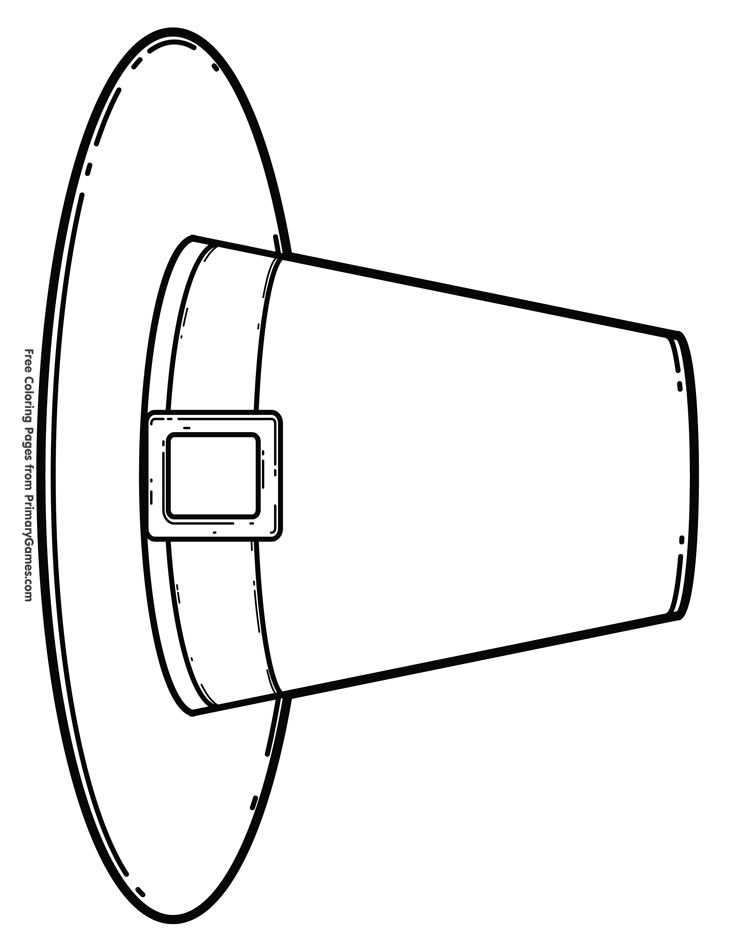
Looking back, the project taught me that a well-placed printable can shorten a moment without stealing all the elbow room from a class. My takeaway is simple: offer clear options, anticipate a few hiccups, and stay curious about what each group prefers to adjust. If you try it, keep a close eye on safety and give yourself permission to revise—these small tweaks can make a big difference with a single pilgrim hat printable.