
This fall, while planning our history block and a hands-on math day, I decided to try a build a turkey printable with my kids. It was meant to be a quick craft that could lead into a discussion about anatomy and seasonal traditions.
At first I assumed it would be forgiving: simple shapes, sturdy paper, and glue that liked kids' fingers. I pictured my younger son tracing edges while my daughter labeled each part. We'd finish in one afternoon and set the turkey on display for the holiday. Instead, we hit a few honest frictions: misaligned pages, sticky hands, and questions about where the beak actually belonged.
What we hoped to gain
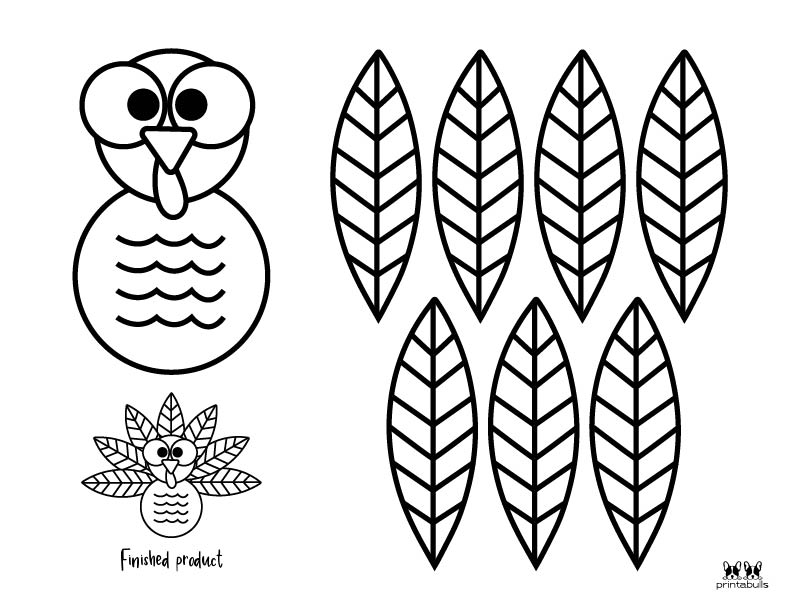
During a quiet afternoon, we pulled out printer paper, scissors, and markers. The kids cut, colored, and then snapped the parts together, testing which tabs held best. We paused to talk about why some pieces would not align perfectly and used a little tape to reinforce the joints. It was messy, but the room filled with laughter and that sense of hands-on learning I value.
One piece kept tearing, and the youngest asked for thicker paper. We swapped to cardstock, slowed the pace, and let the team color before assembly. Glue sticks and patience won the day, and we stopped worrying about perfection. By the end, the turkey stood, a little lopsided but proudly ours.
Limitations we noted
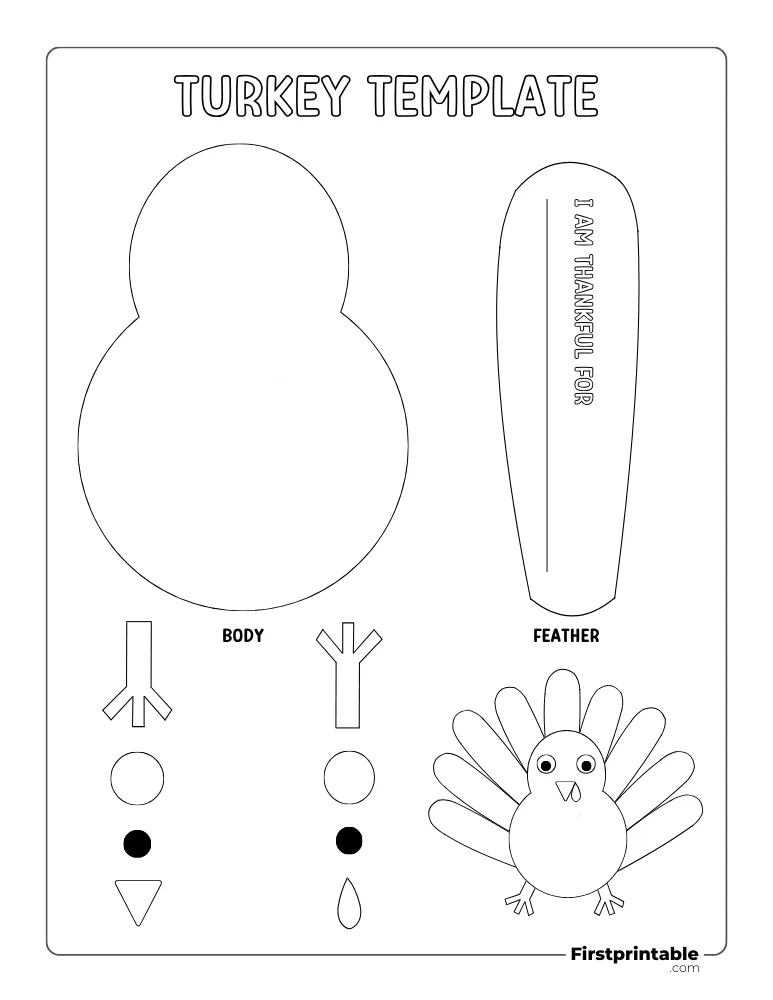
We noticed alignment difficulty: the printable assumed clean edges and precise folds. My kids' mixed-age group benefited from a parent's steady hand guiding the tab insert. Print settings mattered too: a shrunk scale or glossy finish changed how pieces overlapped. The result was cute, but not museum-quality; it needed adjustments, and not every kid would enjoy every step. For some, the project felt slow and repetitive.
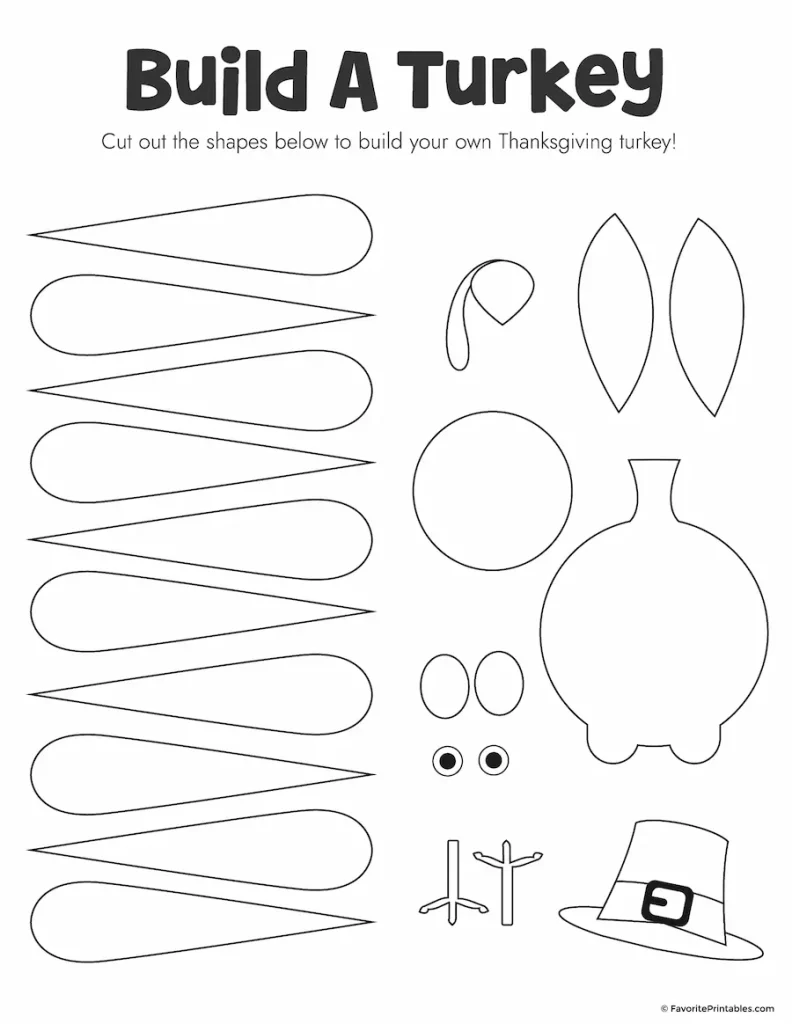
To improve, we pre-scored the folds with a blunt tool, used heavier paper, and laminated the base so the model could be reused as a display piece. We also kept a small box of adhesives and a puncher for neat holes, so the kids could add string or Velcro for a lightweight stand. Small tweaks made a big difference.
Practical tips
Choose blunt scissors and a safe cutting plan for younger kids. Print at actual size, avoid glossy finishes that glare under lamps, and set a simple goal: finish one leg of the turkey today, not the whole bird. If you can, assemble around a shared table, so the older child can model strategies for the younger.
Lesson plan ideas
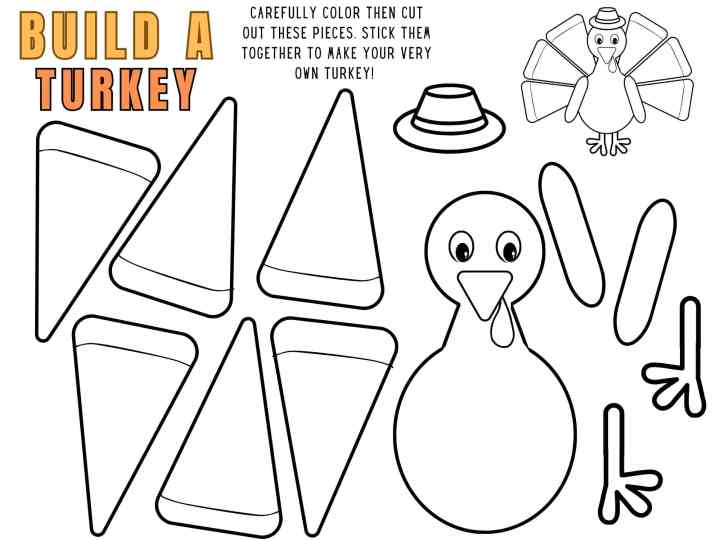
We used the project as a springboard: a quick writing prompt about why turkeys have wattles, a quick math check on the area of tail feathers, and a short science chat about bird adaptations. It did not replace reading or experiments, but it anchored a day that felt practical and alive, giving us a shared goal and a tangible outcome.
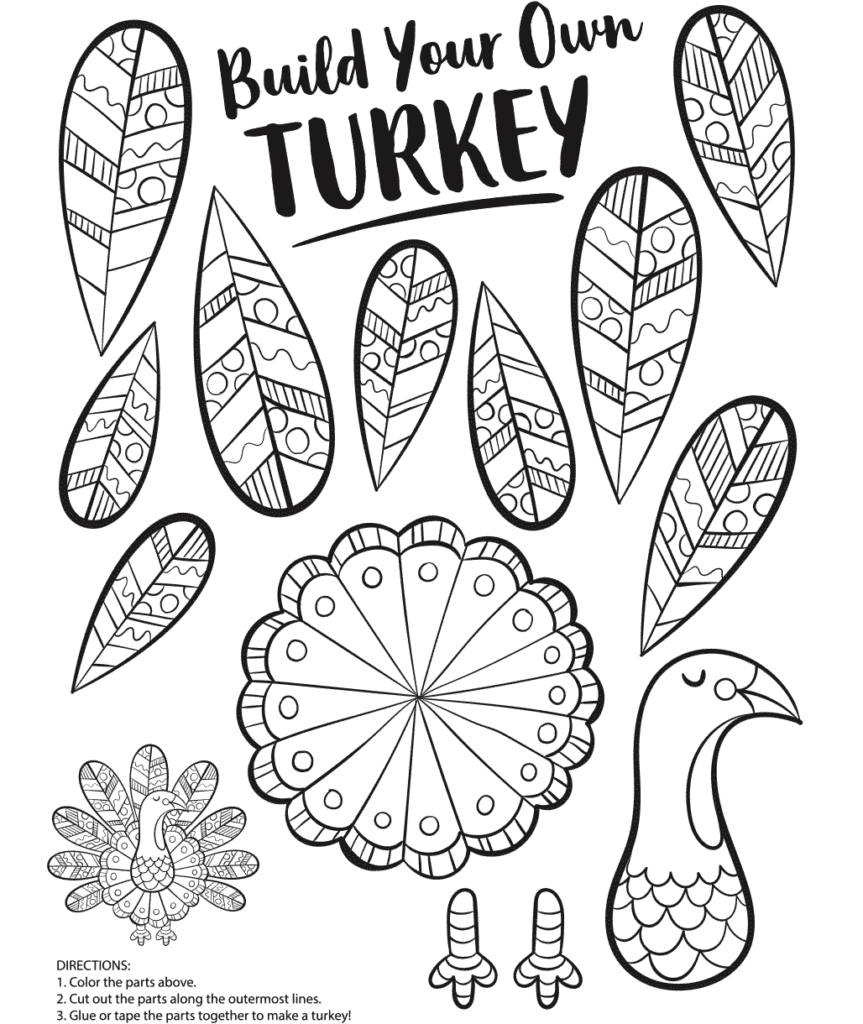
As we close our afternoon, I am reminded that a simple craft is only as strong as the routine that surrounds it. The real payoff is not a flawless display piece, but the chance to slow down, narrate a few facts, and let kids steer the learning at their own pace. If you are weighing materials and time, remember that a build a turkey printable can be a modest starting point for a broader, kid-centered unit that stays grounded in everyday curiosity.